What to look out for during the shoot
During the shoot, each crew member is responsible for their own part of the task, and the designer, who is in charge of knowing the product, is in the role of a film director - interprets the idea and helps the team to implement it correctly. If the designer works remotely, we connect them via video link: we broadcast the camera screen and the situation on the shooting location.
The designer conveys the crew members the result they want to achieve, but does not take on the tasks of the others. A food stylist prepares the product and creates the composition, a photographer sets up the light and angle. We discuss controversial moments together and always consult each other.
To ensure that the final result coincides with the original idea, we draw up a detailed TOR and compose a checklist for each shoot. Depending on the task, the checklist can be supplemented, but there are nuances that we always take control of.
Matching with sketch
Check if the frame matches the sketch. To do this, set up a test scene, take a frame and try it on the layout. Pay attention to the composition, text and atmosphere in general. If something isn’t quite right, we redo it and try it on again.
This process takes a couple of minutes on the shoot, but saves a lot of time while retouching and assembling the master layout.
We don't try to repeat the sketch exactly. We stick to the chosen direction, but allow ourselves to adjust details
Light
Adjust the light so that the picture has volume and the product looks appetizing. Check if we are satisfied with the type of shadows, if there is overexposure or the spots that are too dark.

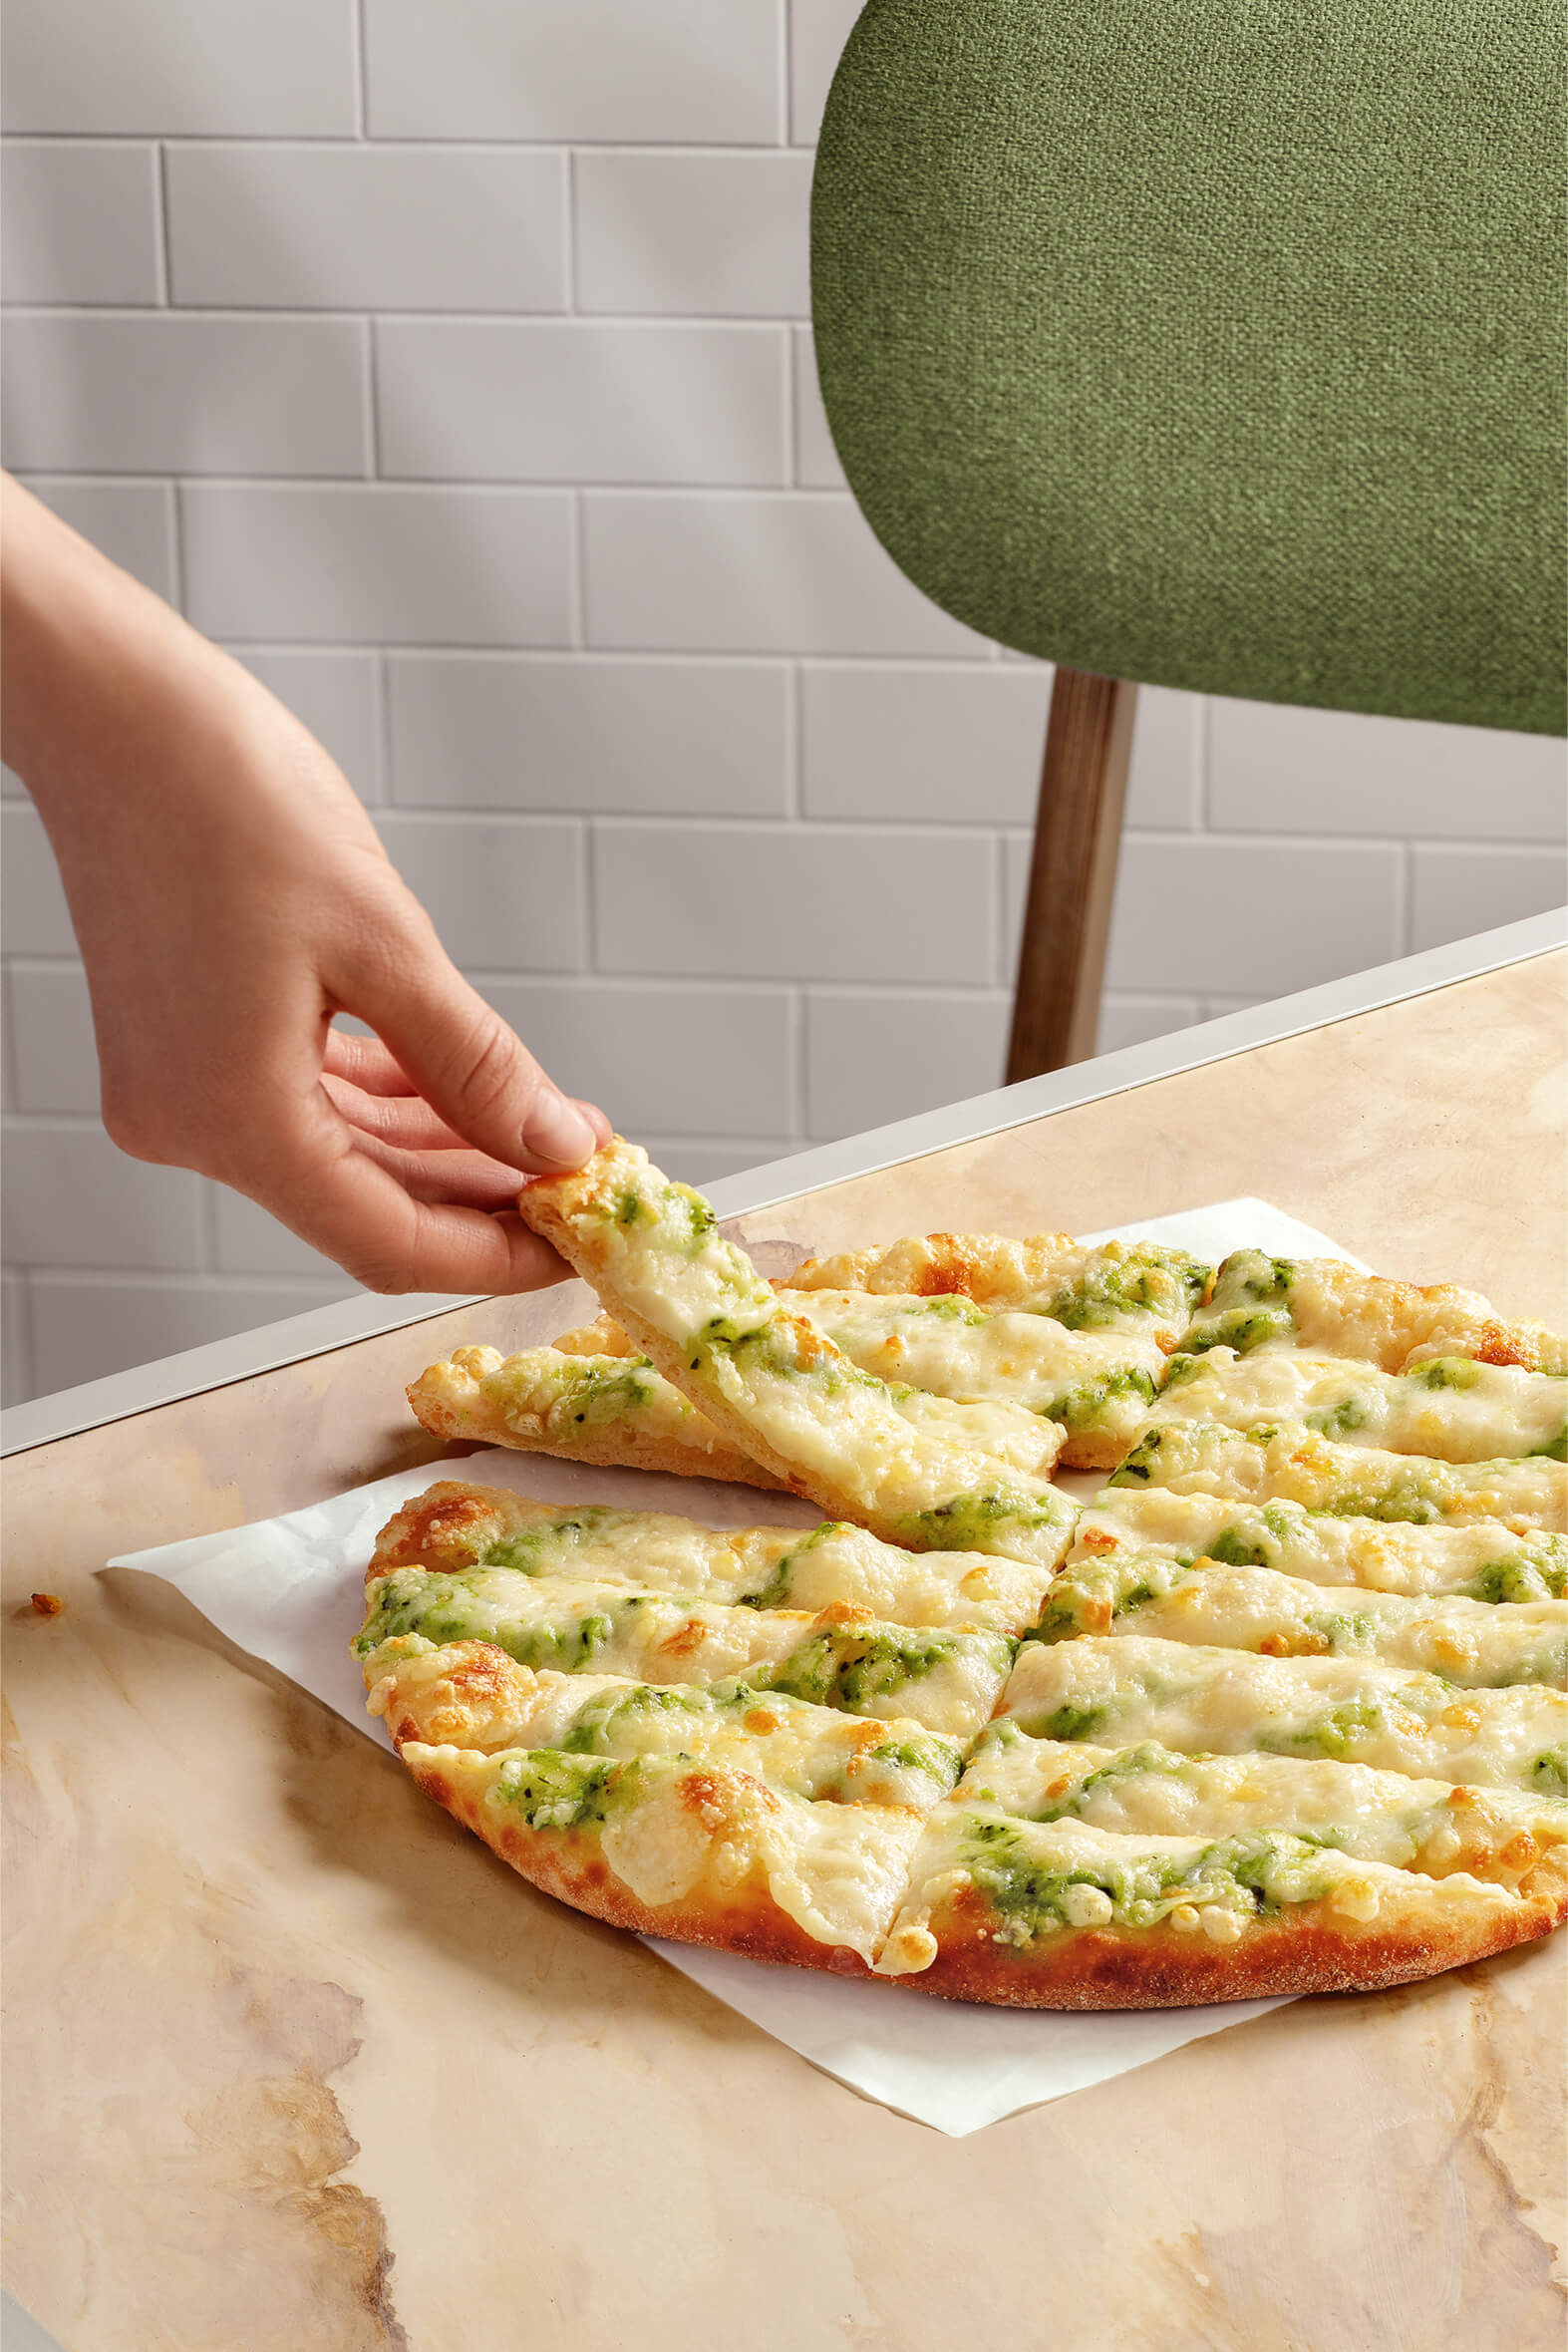
Angle
We reveal the stuffing and outline the necessary object. We set the approximate direction of the angle on the sketch, and we finalize the details on the shooting. If we see that the changes have a positive effect on the frame, we can safely step away from the sketch.
Reflexes
If colour reflexes damage the look of the product and make it unnatural, get rid of unwanted shades. We withdraw from the sketch if we see that the original idea does not work.
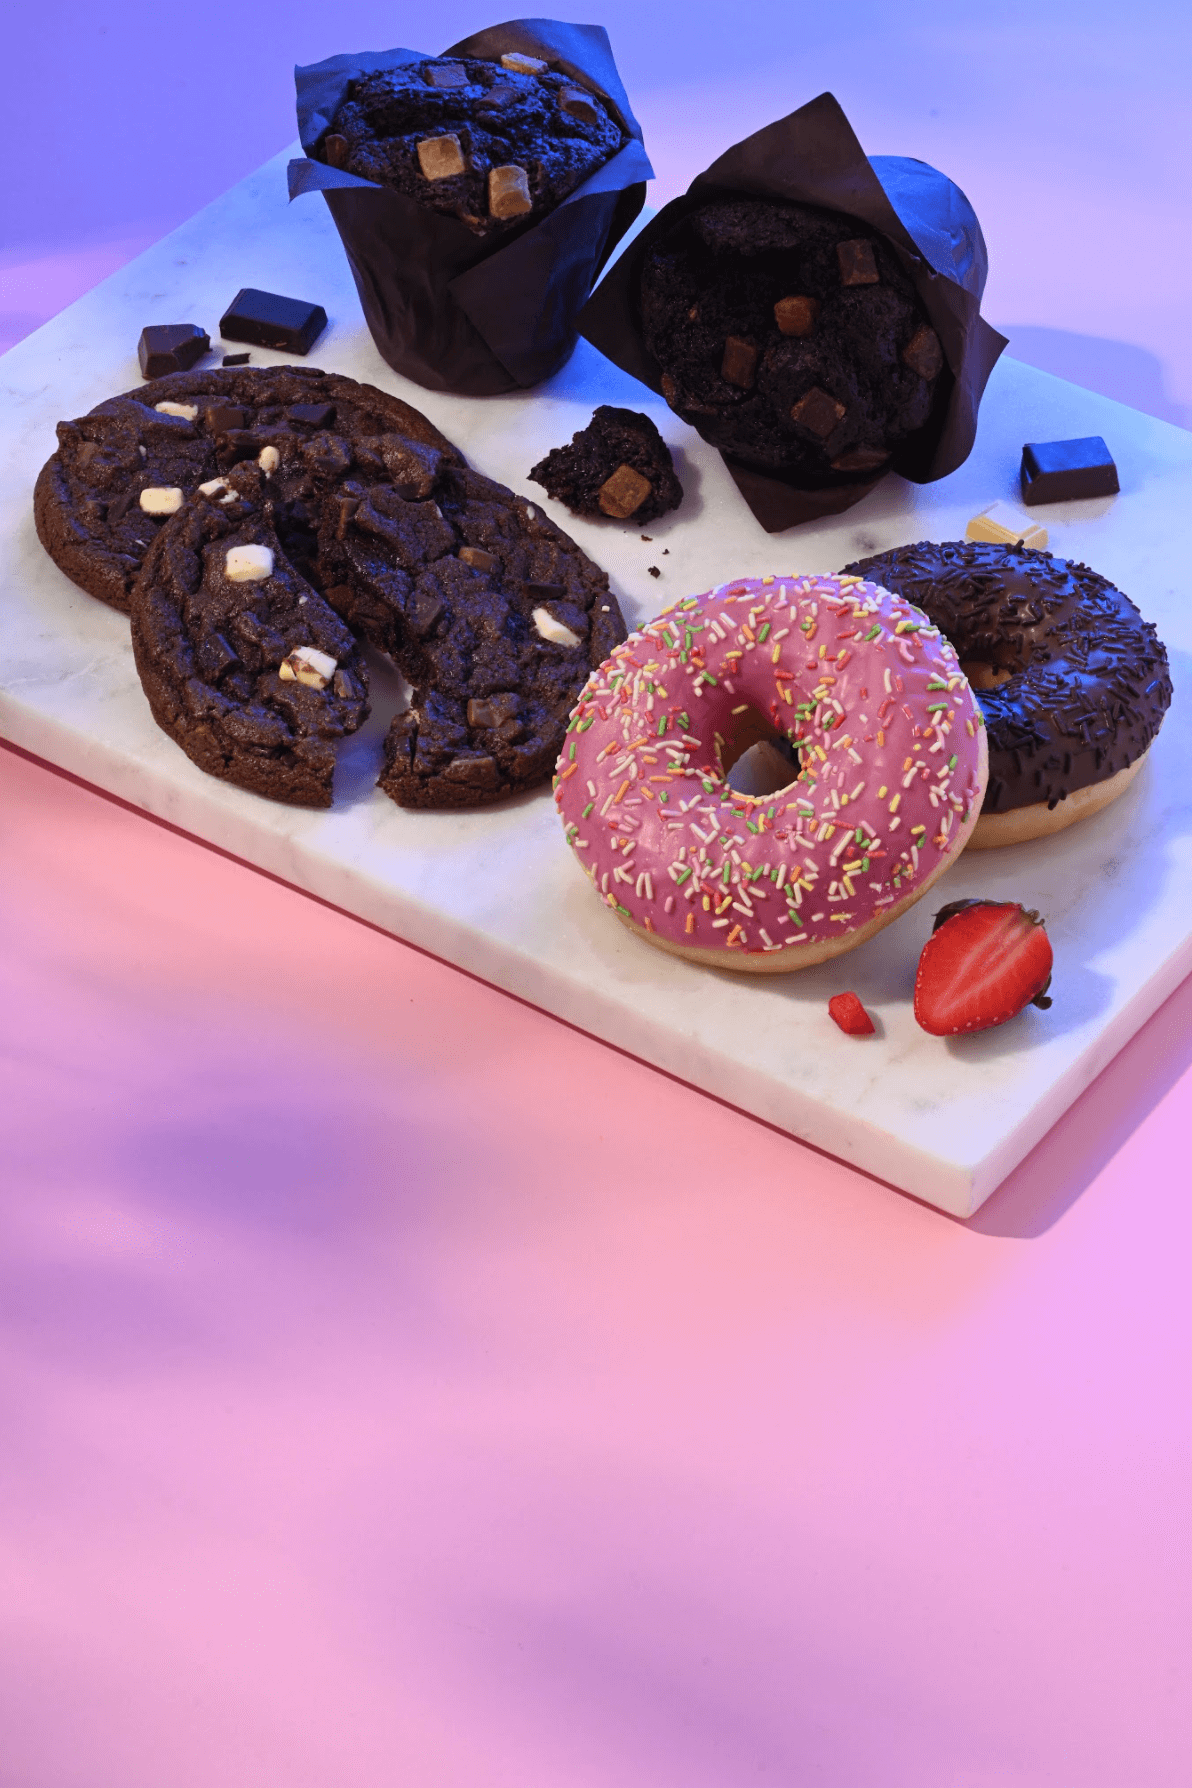
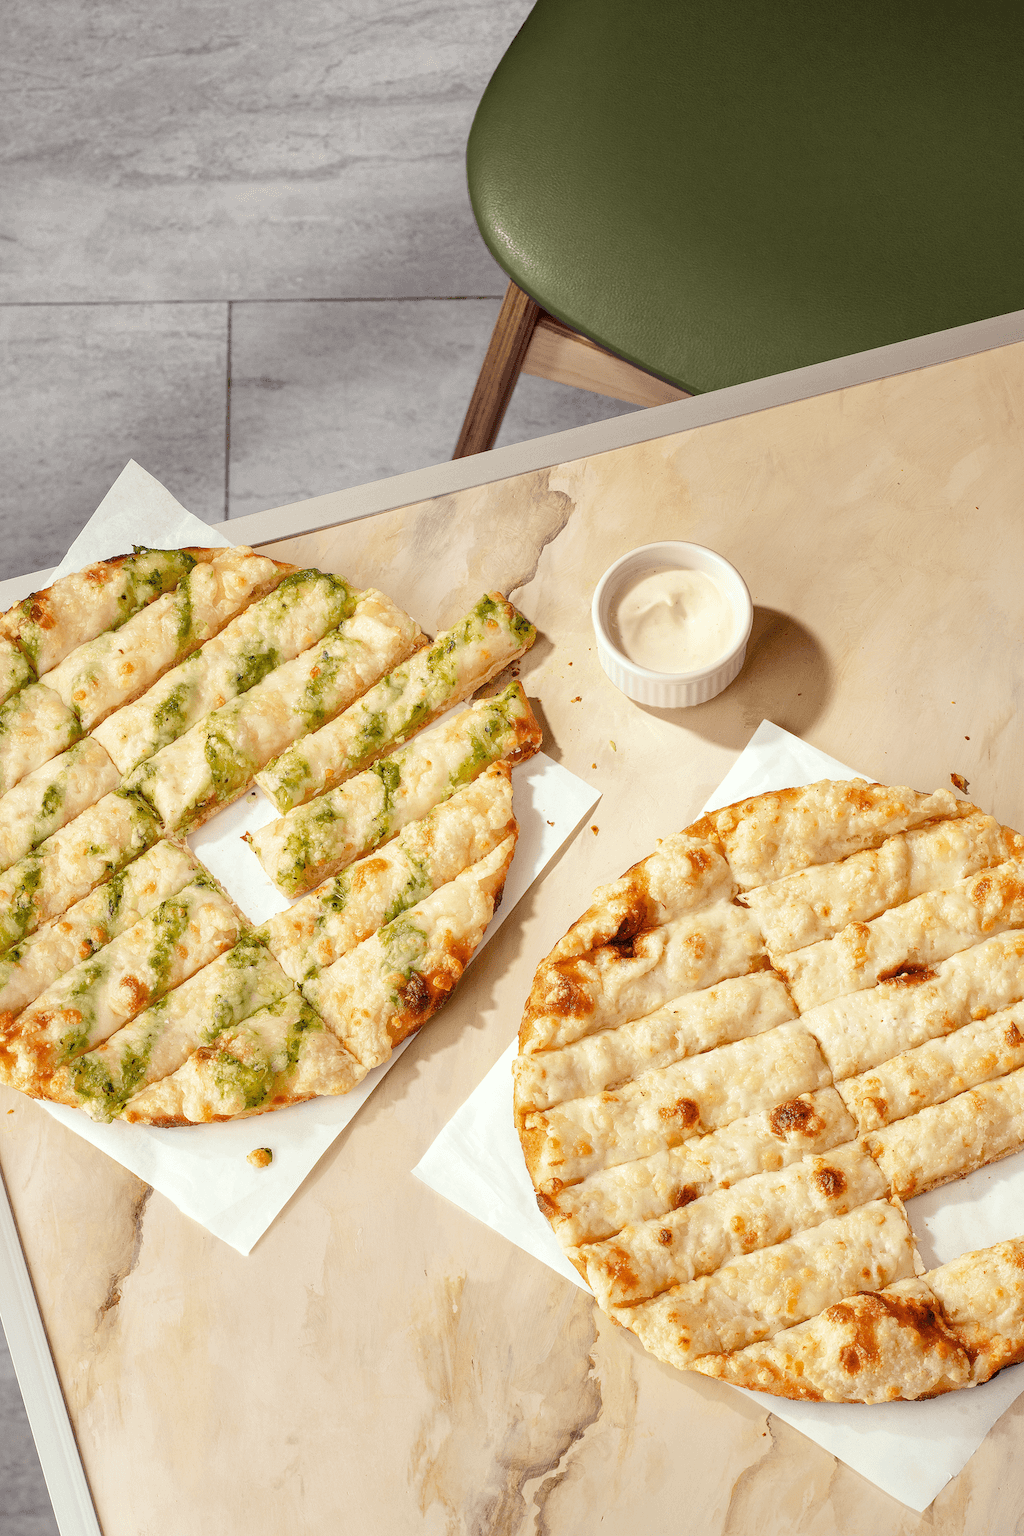
Product Appearance
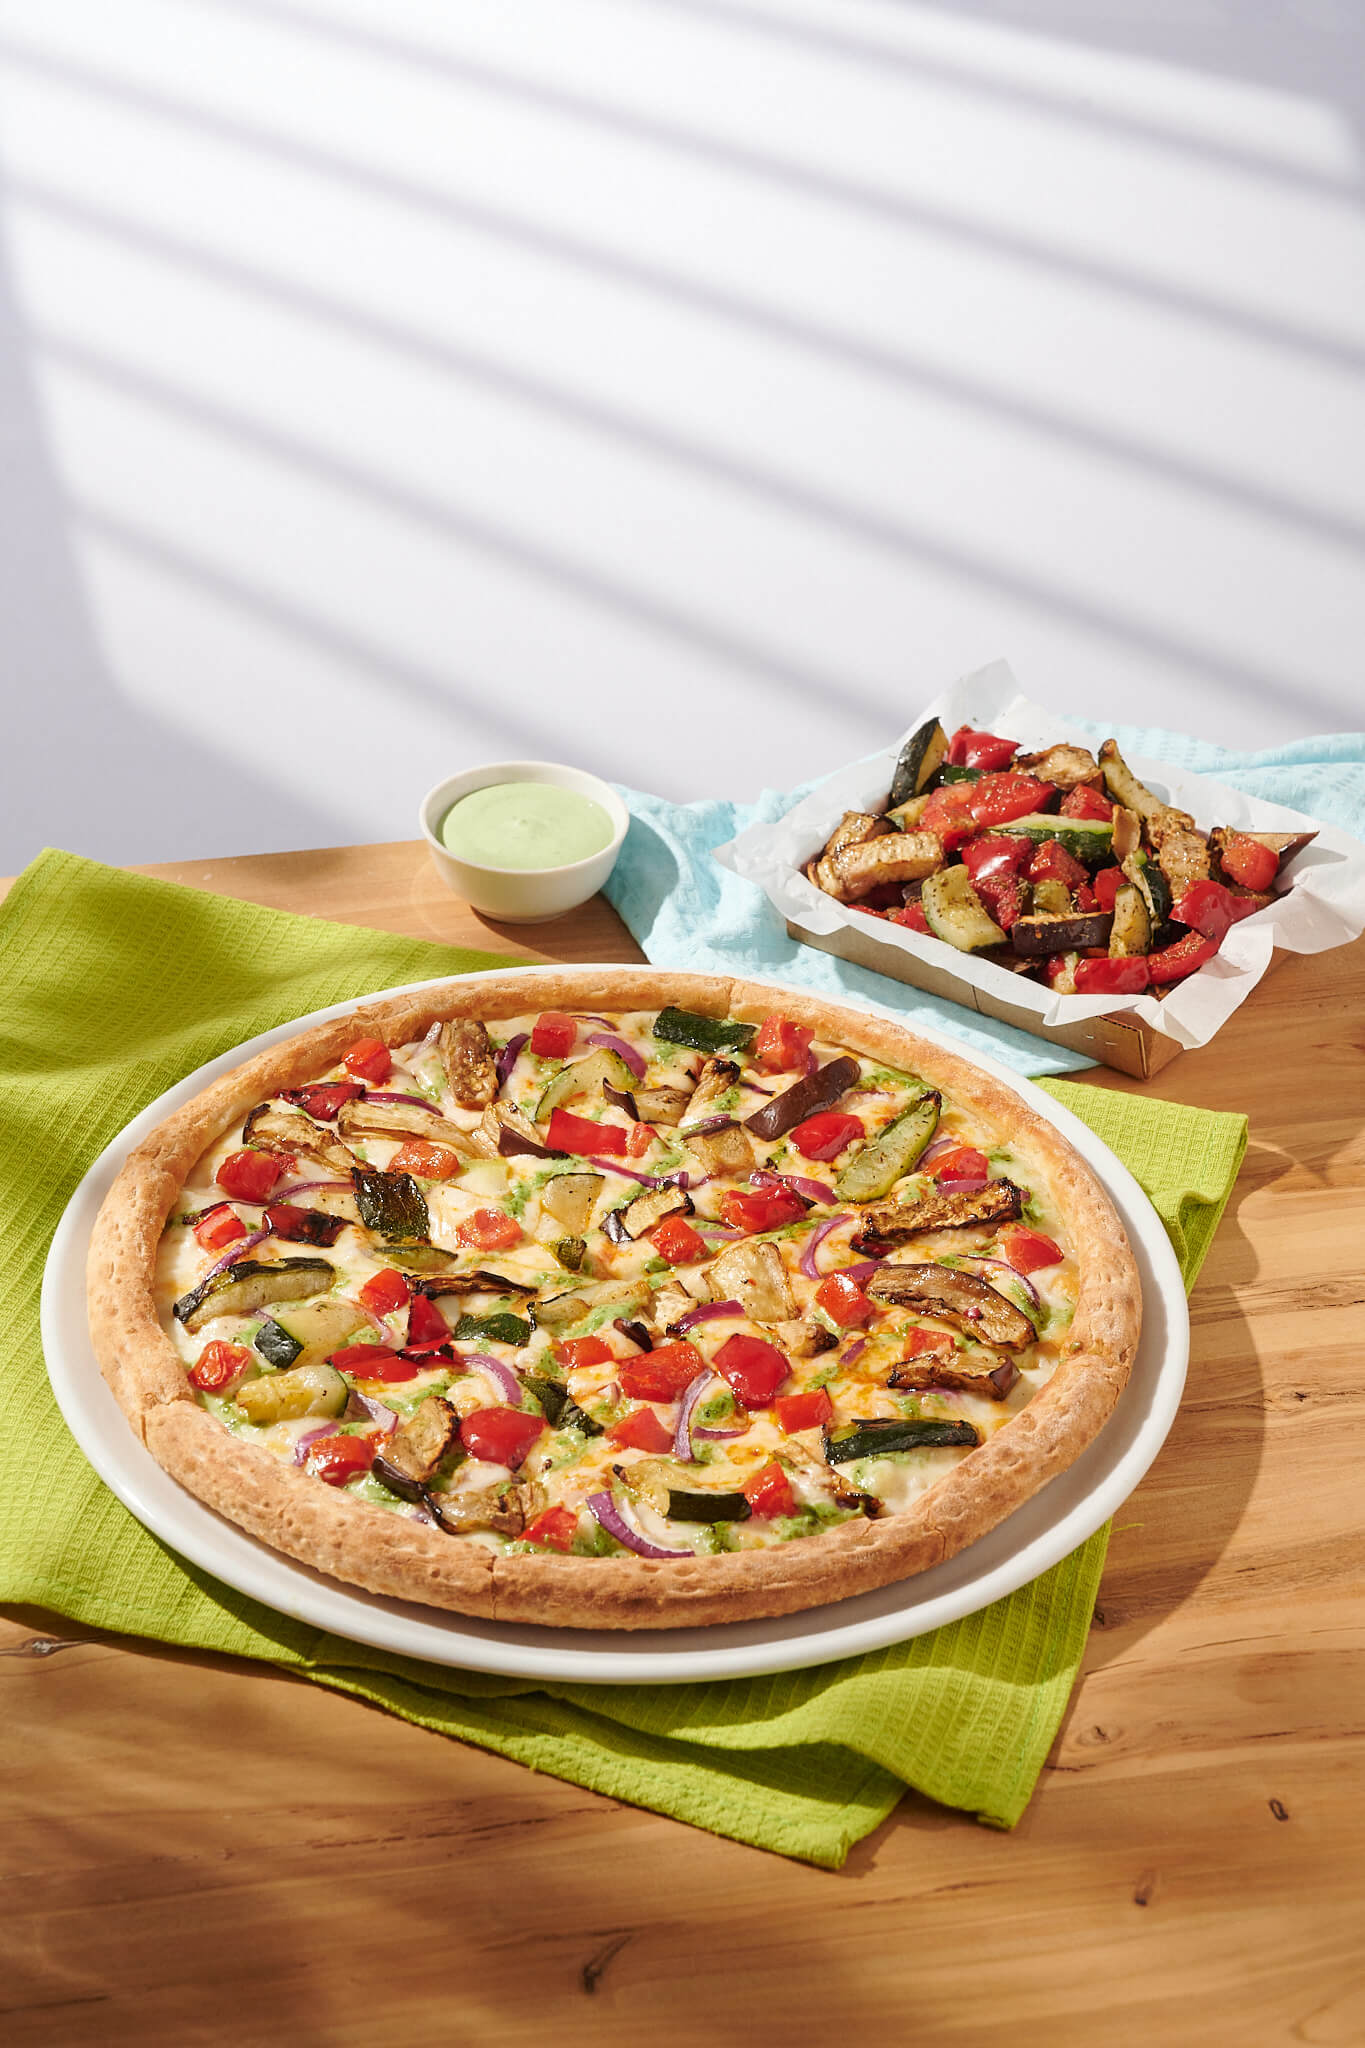
Food stylists prepare the product and are responsible for its appearance, while the designer makes sure it looks appetizing in the final shot. Burnt onions, dough that is not browned enough or pizza that is tired of shooting will all be apparent in the photo. Cook the product again if you notice the flaws.
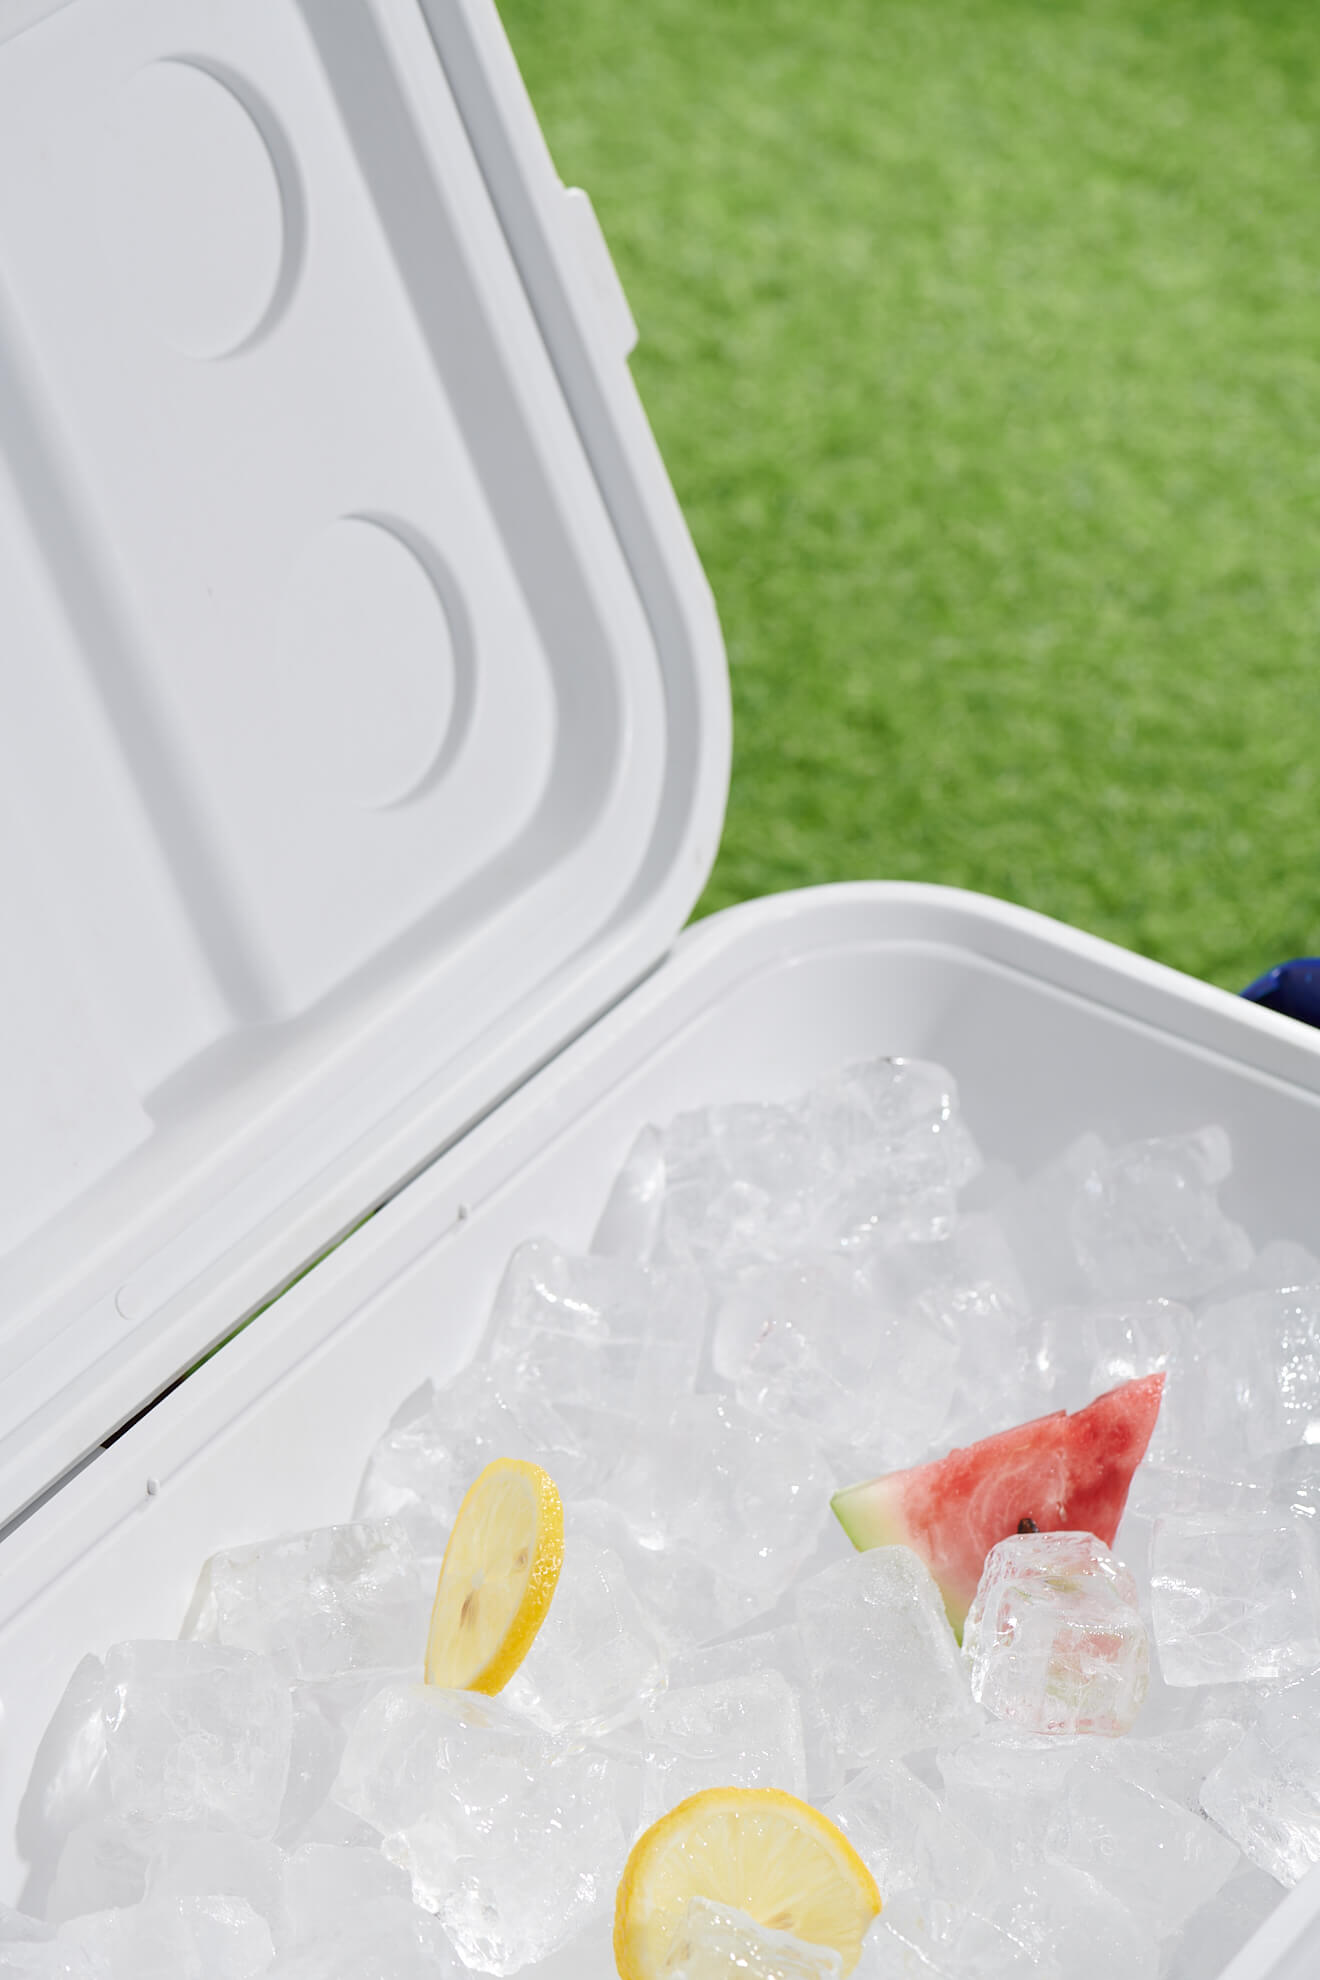
Excess details in the shot
Retouching experts can change a lot of things in a photo, but most of the details are easier to be fixed during the photo shoot. For example, it only takes ten minutes of shooting time to smooth out the background, hide wires and put a tablecloth of the right colour, but a retouching specialist will work on it much longer.
Vertical and horizontal scene
We take a vertical and horizontal shot if both are needed for the media. Most often they are two different scenes, for which you need to change the arrangement of elements, angle and sometimes light.
Shooting "subtraction"
Additionally, if the task requires it, we shoot the product and other objects by "subtraction" - we gradually remove layers and take a photograph of each object separately, so that later we can move and change the size of elements on the layout.
Selecting photos
The designer selects successful photos during or at the end of the shoot, while the impressions are still fresh and the footage is easy to navigate. The photographer saves sources (NEF) and compressed photos (JPEG), uploads the files to Google Drive and sends the link to the designer, who prepares TOR for retouching experts.
Read next: