

Writing terms of reference for a photoshoot
We put together the terms of reference (TOR) in a template on Miro: this tool makes it easier to edit and discuss. At least 7 days before the photoshoot, we make a request on Wrike and send it to the photo lab team so that the guys have time to immerse themselves into the task, find props and book models.
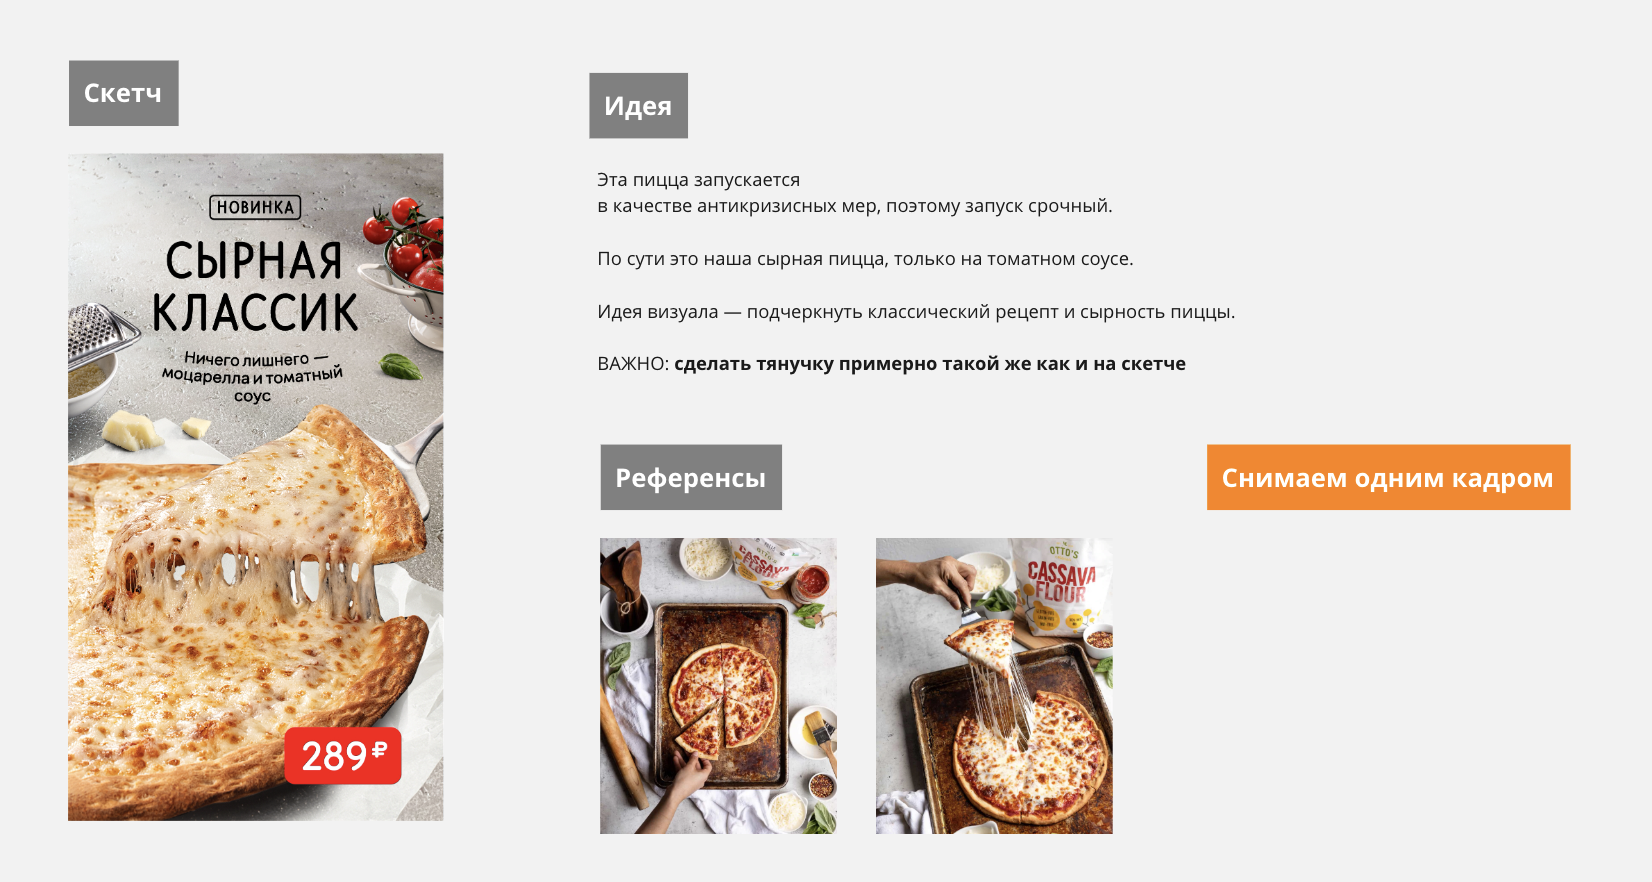

The extended version reveals each item in detail - it will be handy for those who are writing TOR for the first time. Work according to the following plan.
Approve the sketch with the owner
We start the photoshoot only after the owner has finalized the sketch.
Describe the task
At the beginning of the TOR, describe the task in your own words to take the photographer deeper into it and draw their attention to important details.
Make a vertical and horizontal sketch
If the brief specifies that we need layouts for different media, we make sketches for each format. Usually we think the shot through so that it fits both crops, but sometimes we have to build two compositions and shoot them individually.
Prepare a frame template
To recognize the necessary volume of the picture, we make frames according to the size of the media. To do this, we draw guides that delineate the boundaries of different layouts on the sketch. We save the guides in PNG format so that the photographer can overlay them on the frame preview during the shooting process. This allows you to understand which part of the frame to place the product and other objects in.
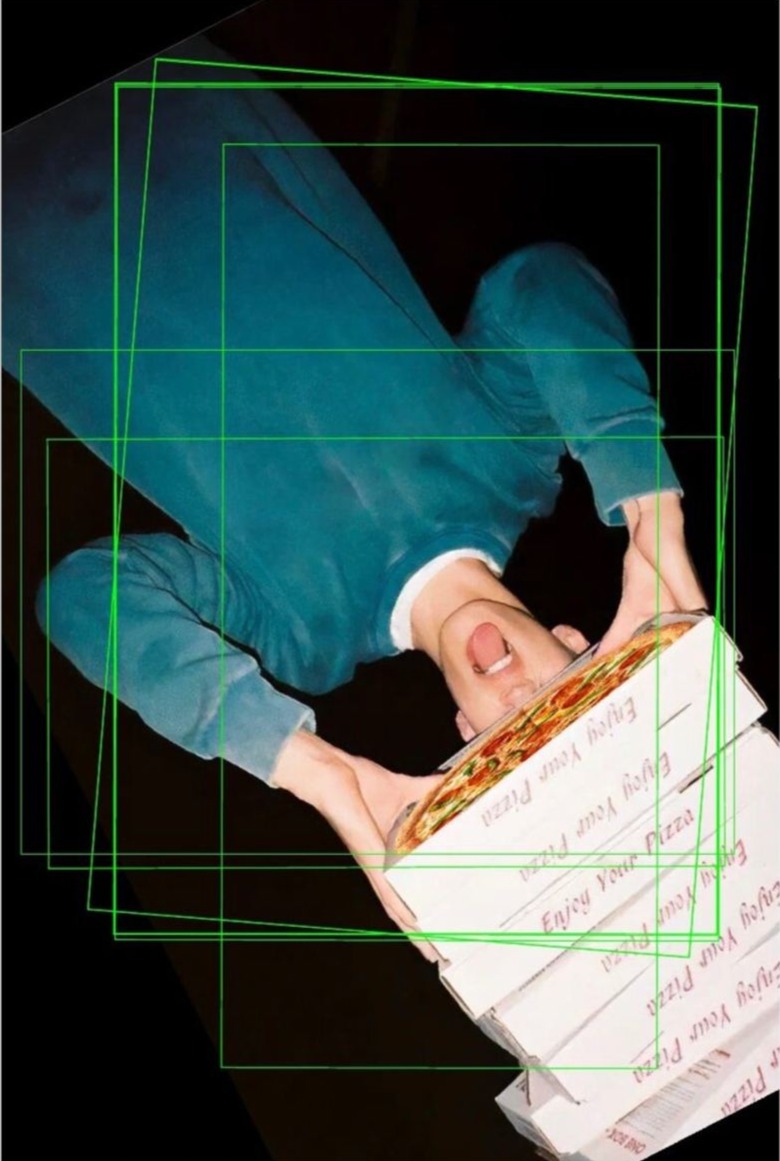
Decide how to take photos: layered or in one shot
We have the task and the layout in mind. We do it in one shot when we plan to show a realistic situation. We use layering when we are building an abstract layout on which we can move, enlarge or reduce objects without damaging the idea.
If we need to catch two actions happening at the same moment, we also go for layering. For example, when we want to capture the bubbles running up and the foam sliding down the cup.
An example of shooting by layers:
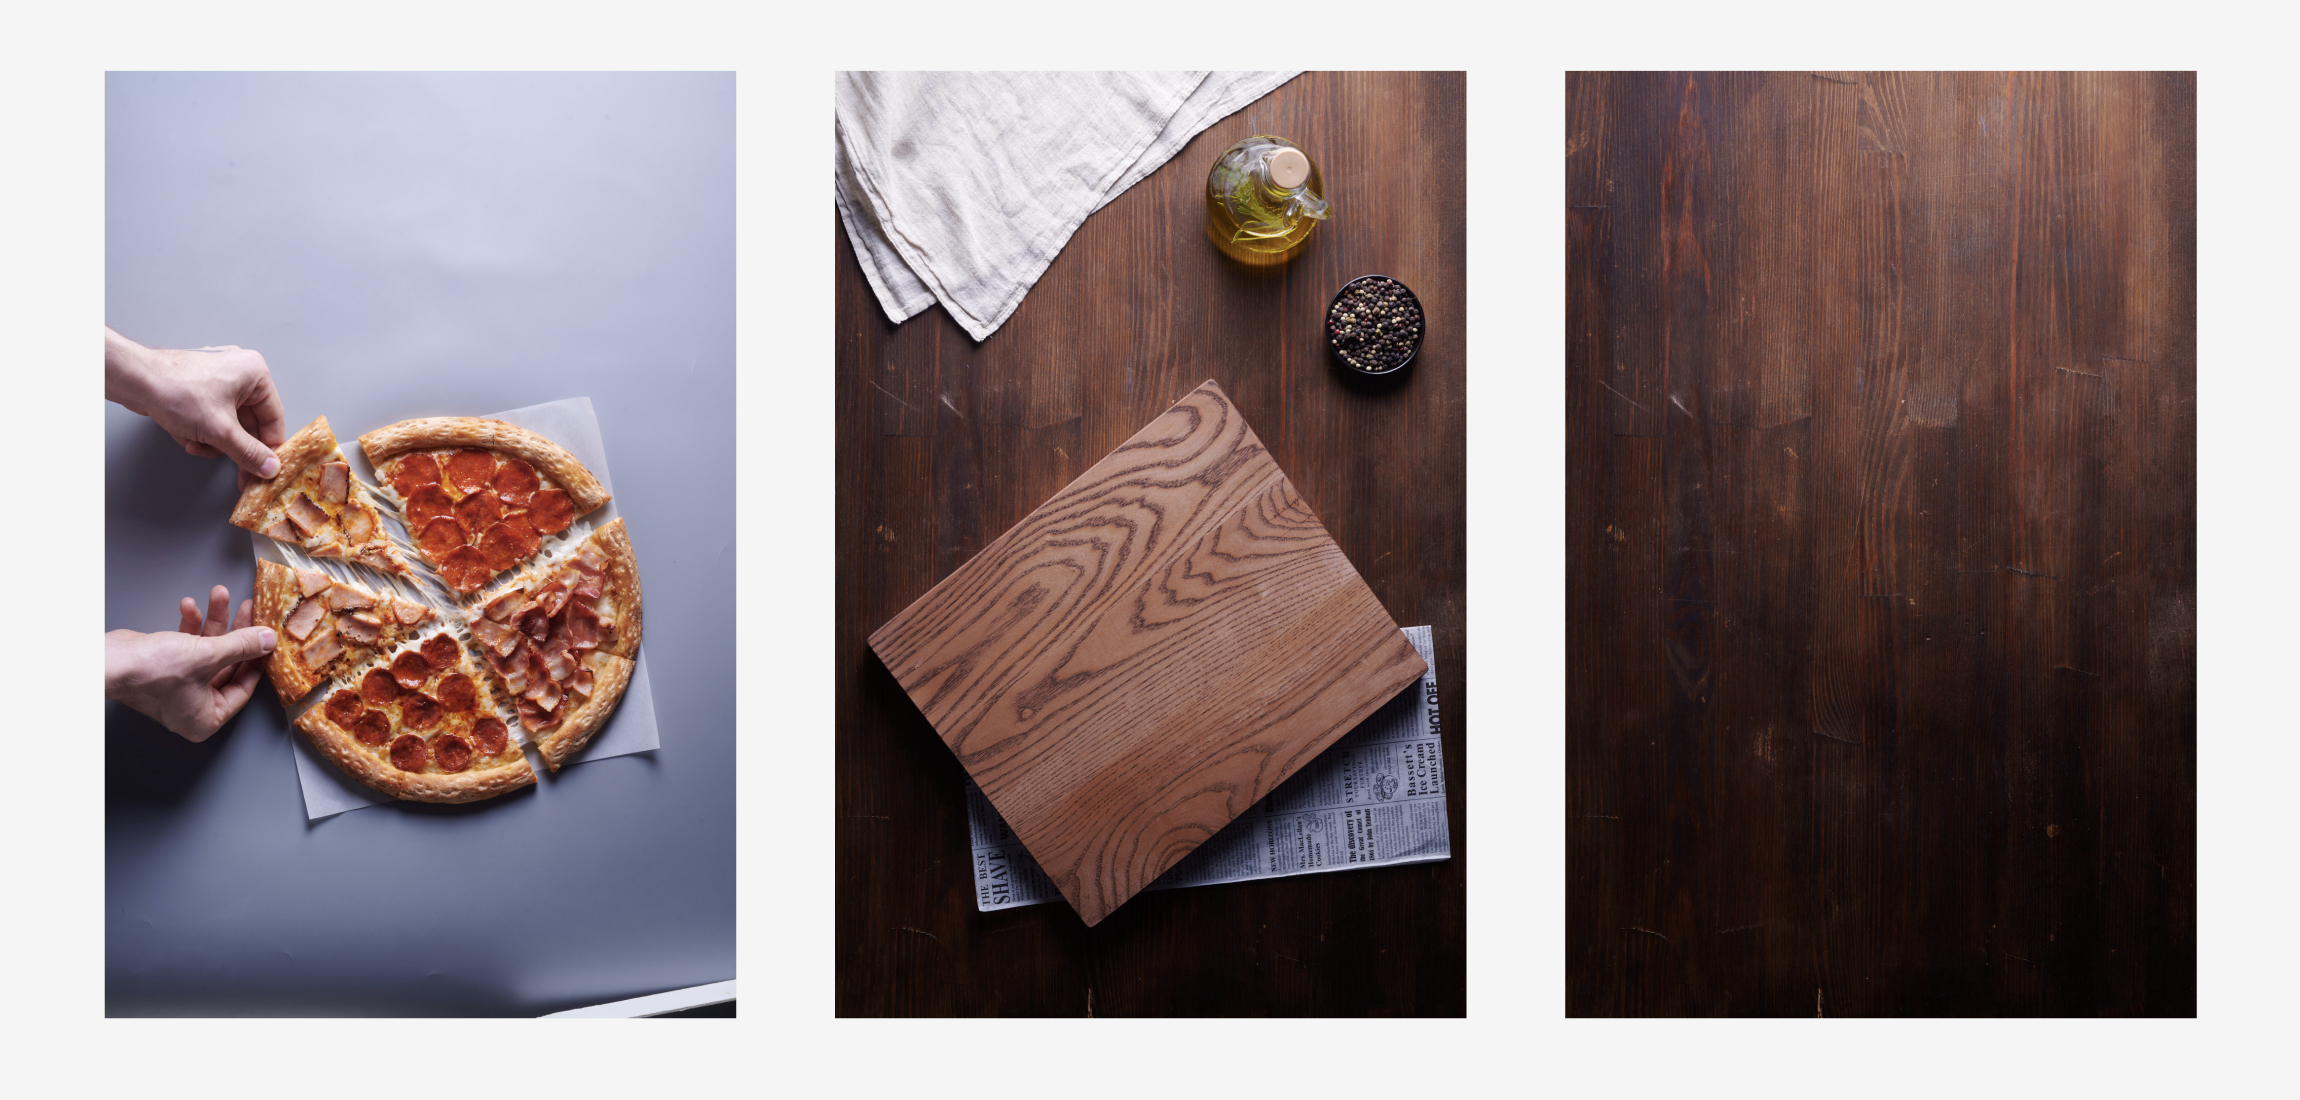
Select props
The details of the shot are explored by the designer: they look for suitable items in our photo lab or on the Internet; they think about alternatives if the props are hard to find. Sometimes there is no time for search, so the designer selects references. They put in references to the goods or photo-references into the TOR, and then the props designer orders everything. 1-2 days before the shooting we always make sure that the props have arrived.
Think through the character's image and find references
If an individual plays an important role in the photo, we think over whom we need in advance and specify it in the TOR: we describe the character's portrait, clothes and manicure; we attach photo-references. The props director selects models, finds clothes, and supervises manicure.
Select a location
In 90% of cases we take shots in our darkroom. If we can't realize the idea there, we look for a suitable location. 1-2 days before the photoshoot we arrive at the location and make test shots there. This helps to understand which details get into the frame, and decide whether we need an offsite shooting. We insert photos of a specific location or references into the TOR.
Select references for light and atmosphere
Attach the references used in the sketch and briefly describe what is important to pay attention to.
Pre-shoot the frame
When we plan an important or complicated photoshoot, we check out our idea in advance. Usually the designer does everything themselves: orders the product, comes to the location, sets up the shot and shoots it on their phone. Sometimes we bring a photographer in and do an express photoshoot.
Request a recipe from the owner
The food for the shoot is prepared by a food stylist. To simplify and speed up the process, we attach the exact recipe and a photo of the product. For a pizza, specify the size (25 / 30 / 35 cm) and for a drink - the volume (0.2 / 0.3 / 0.4 ml).
Find out if the product is in the darkroom on the day of the shoot
Ingredients for new products are not always on spot here and now, so we check out availability in advance.
Fill out the TOR on Miro
We transfer the sketch and references into Miro, describe the task, insert product photo and recipe. If we have been filling out the TOR gradually, we make sure that it contains everything we need. We rely on the template with tips.
Fill out the brief
When the TOR is ready, we set the task for the photo lab team. In the management company we fill out the application on Wrike, partner teams choose the tools that are convenient for them.
Create a thread or a chat to discuss the task
We communicate on Loop: we start a separate thread in the #photolab_product channel, where we share new introductions or tell each other how the preparation for the photoshoot is going.
Hold a meeting with the team 3 days before the photoshoot
We make final adjustments, clarify the task. Invite all team members, including the retouching specialist who will work with the photos only after the photoshoot. The specialist will suggest the best way to take shots of the product to simplify post-processing.
Read next: