
Pizzeria interior: stickers, signs and boards
Preparing stickers, signs and boards for printing and adjusting them to the local market. Here are step-by-step instructions with illustrations.
There are more than 20 different visual design elements in the interior of our pizzerias. Some of them require adjustments that depend on the background of the country where the pizzeria is located.
The principle of editing layouts is the same for all files: if English is not the predominant language in your country, you need to translate the text and insert the new version into the layout.
If the image does not contain text, select a ready-made layout with an illustration appropriate for your region and save it for printing.
2. Download a layout from the Knowledge Base
To find a file for editing, go to the Knowledge Base and type the name of the layout group in the search bar. Download the file to edit and open it in Adobe Illustrator.
Layout Groups:
- Signs: Pizza Store Interior Signs Kit
- Stickers: Pizza Store Interior Stickers Kit
- Information Boards: Information Boards
2. Determine the language
We provide layouts with text in English. If English is not the official language in your country, translate the text into your local language and follow the instructions.
If the English version works for you or you are editing a layout that has no text, skip step 3.
3. Replace the text
The text in the layout is editable. Insert the translation into the corresponding block as it is placed in the English version. If the number of lines has increased, make the font size smaller.

4. Choose an illustration
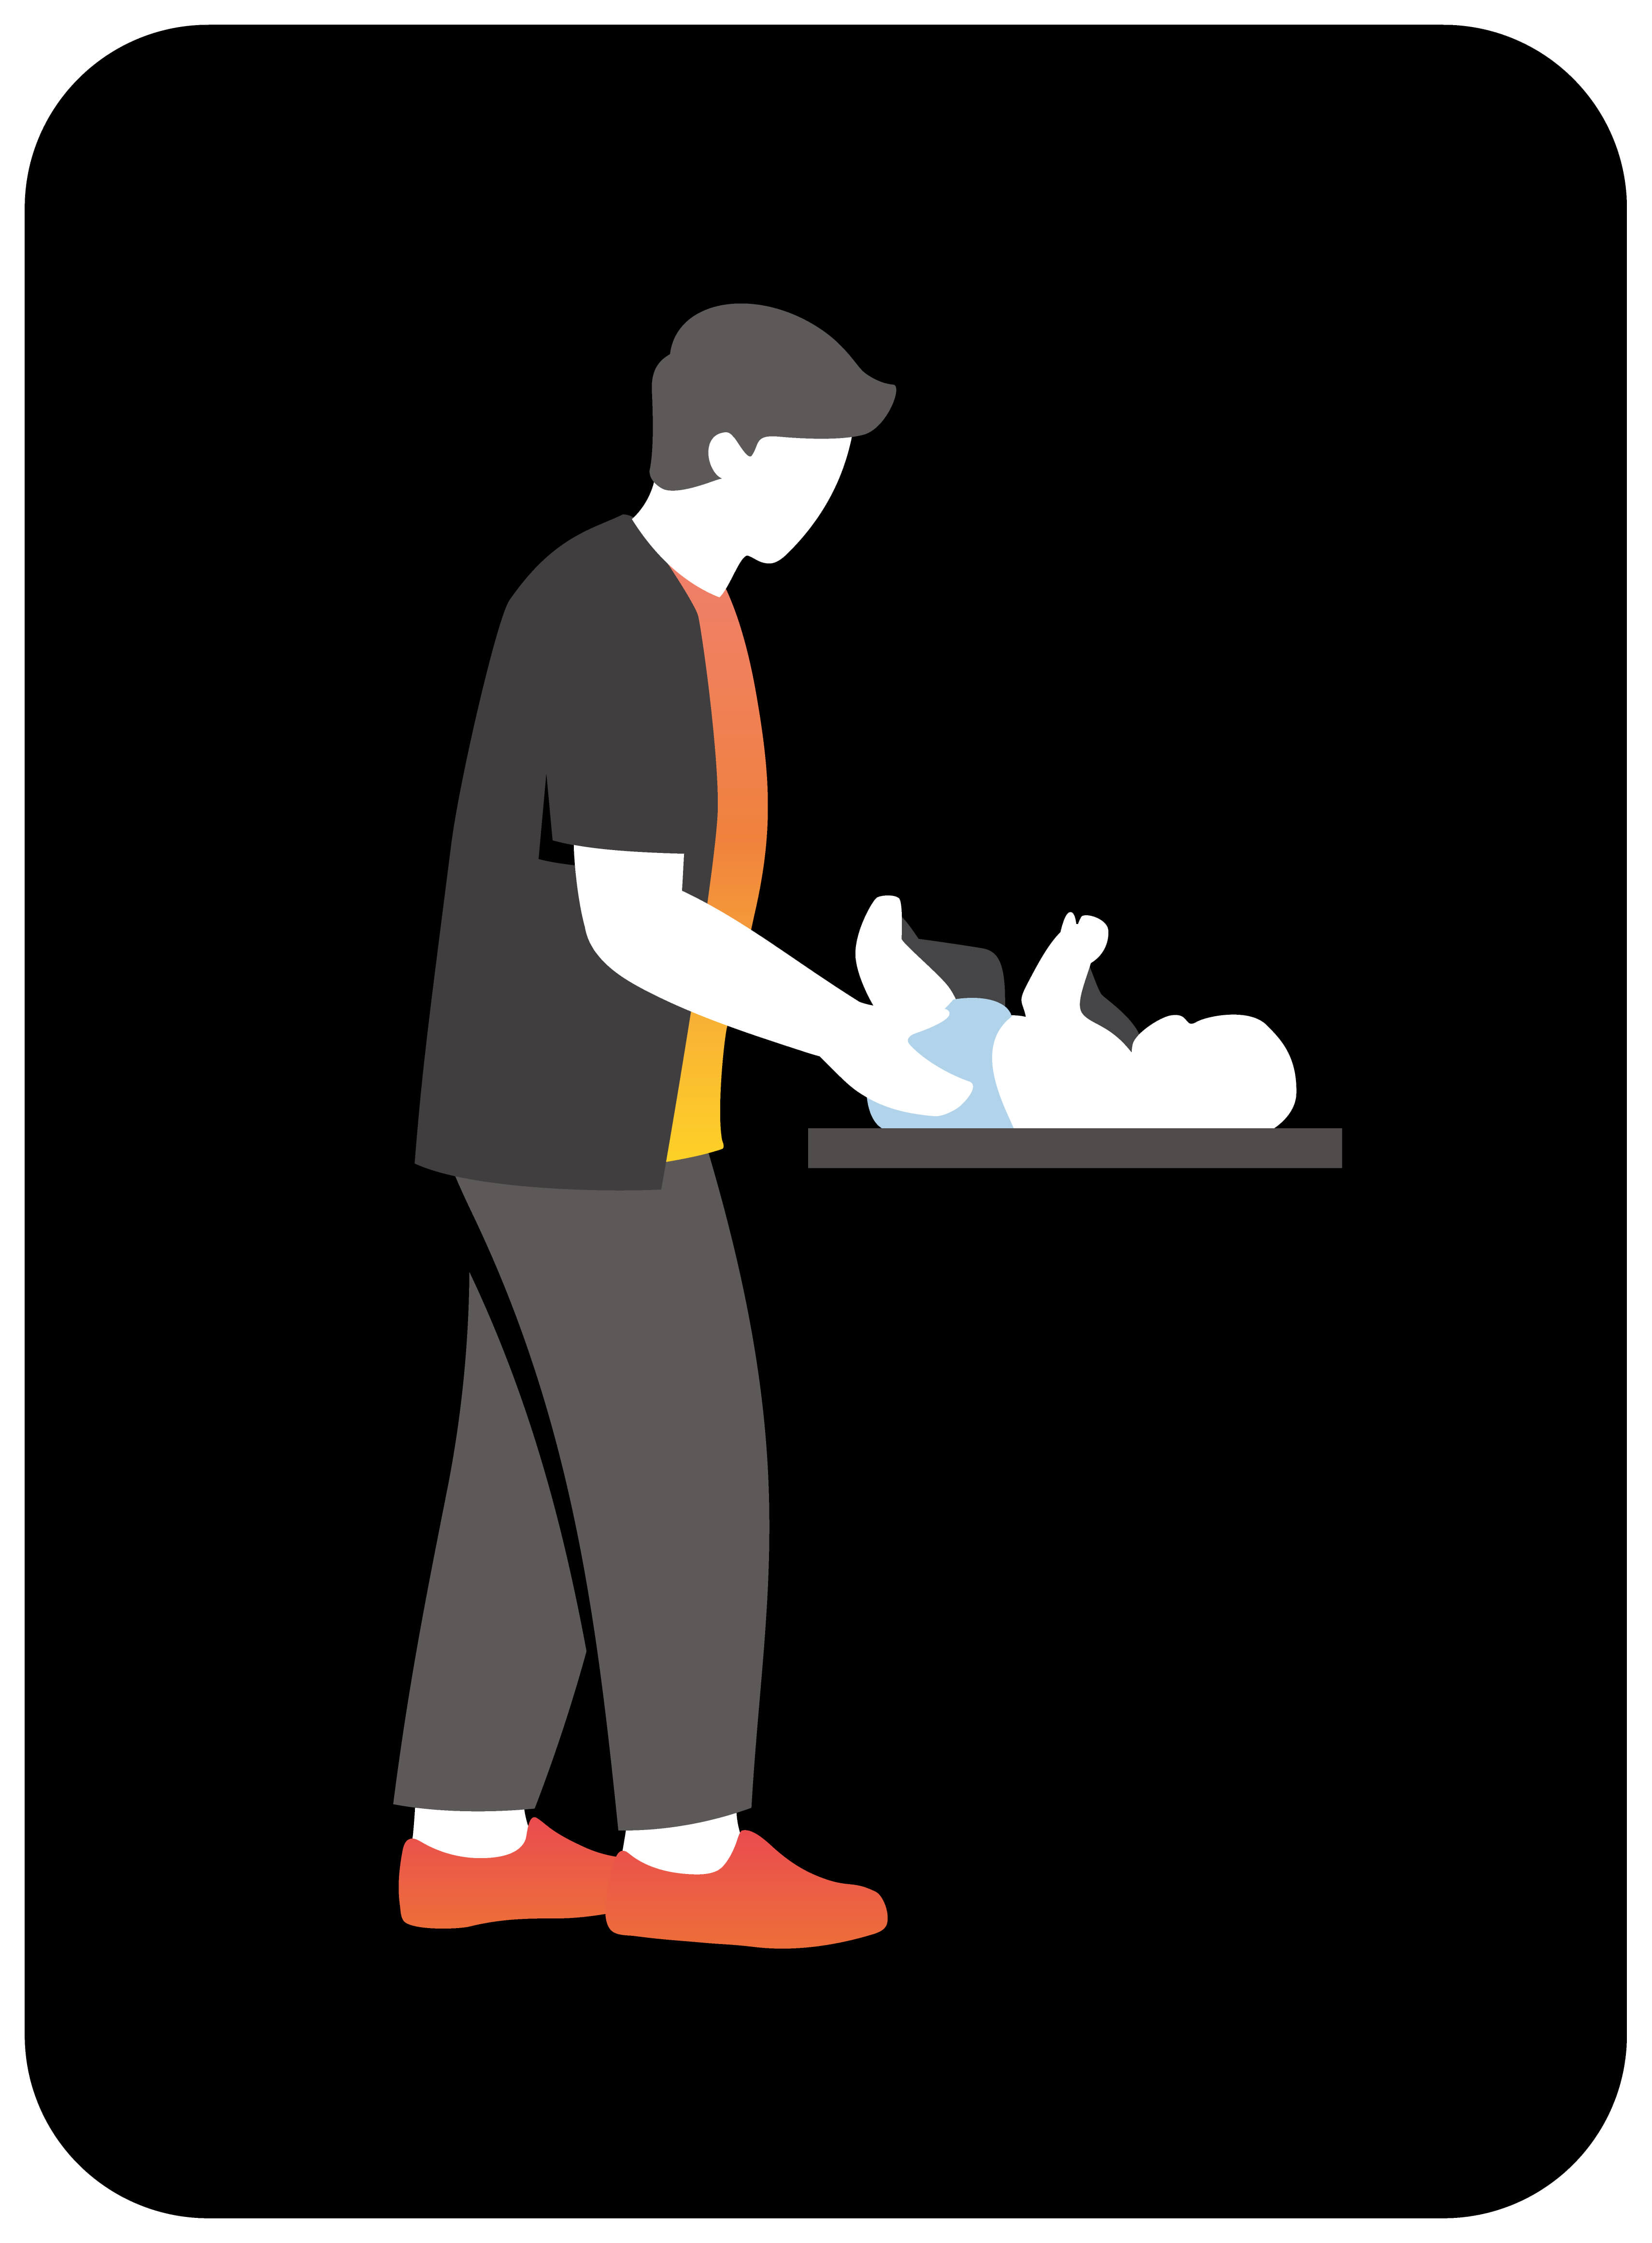
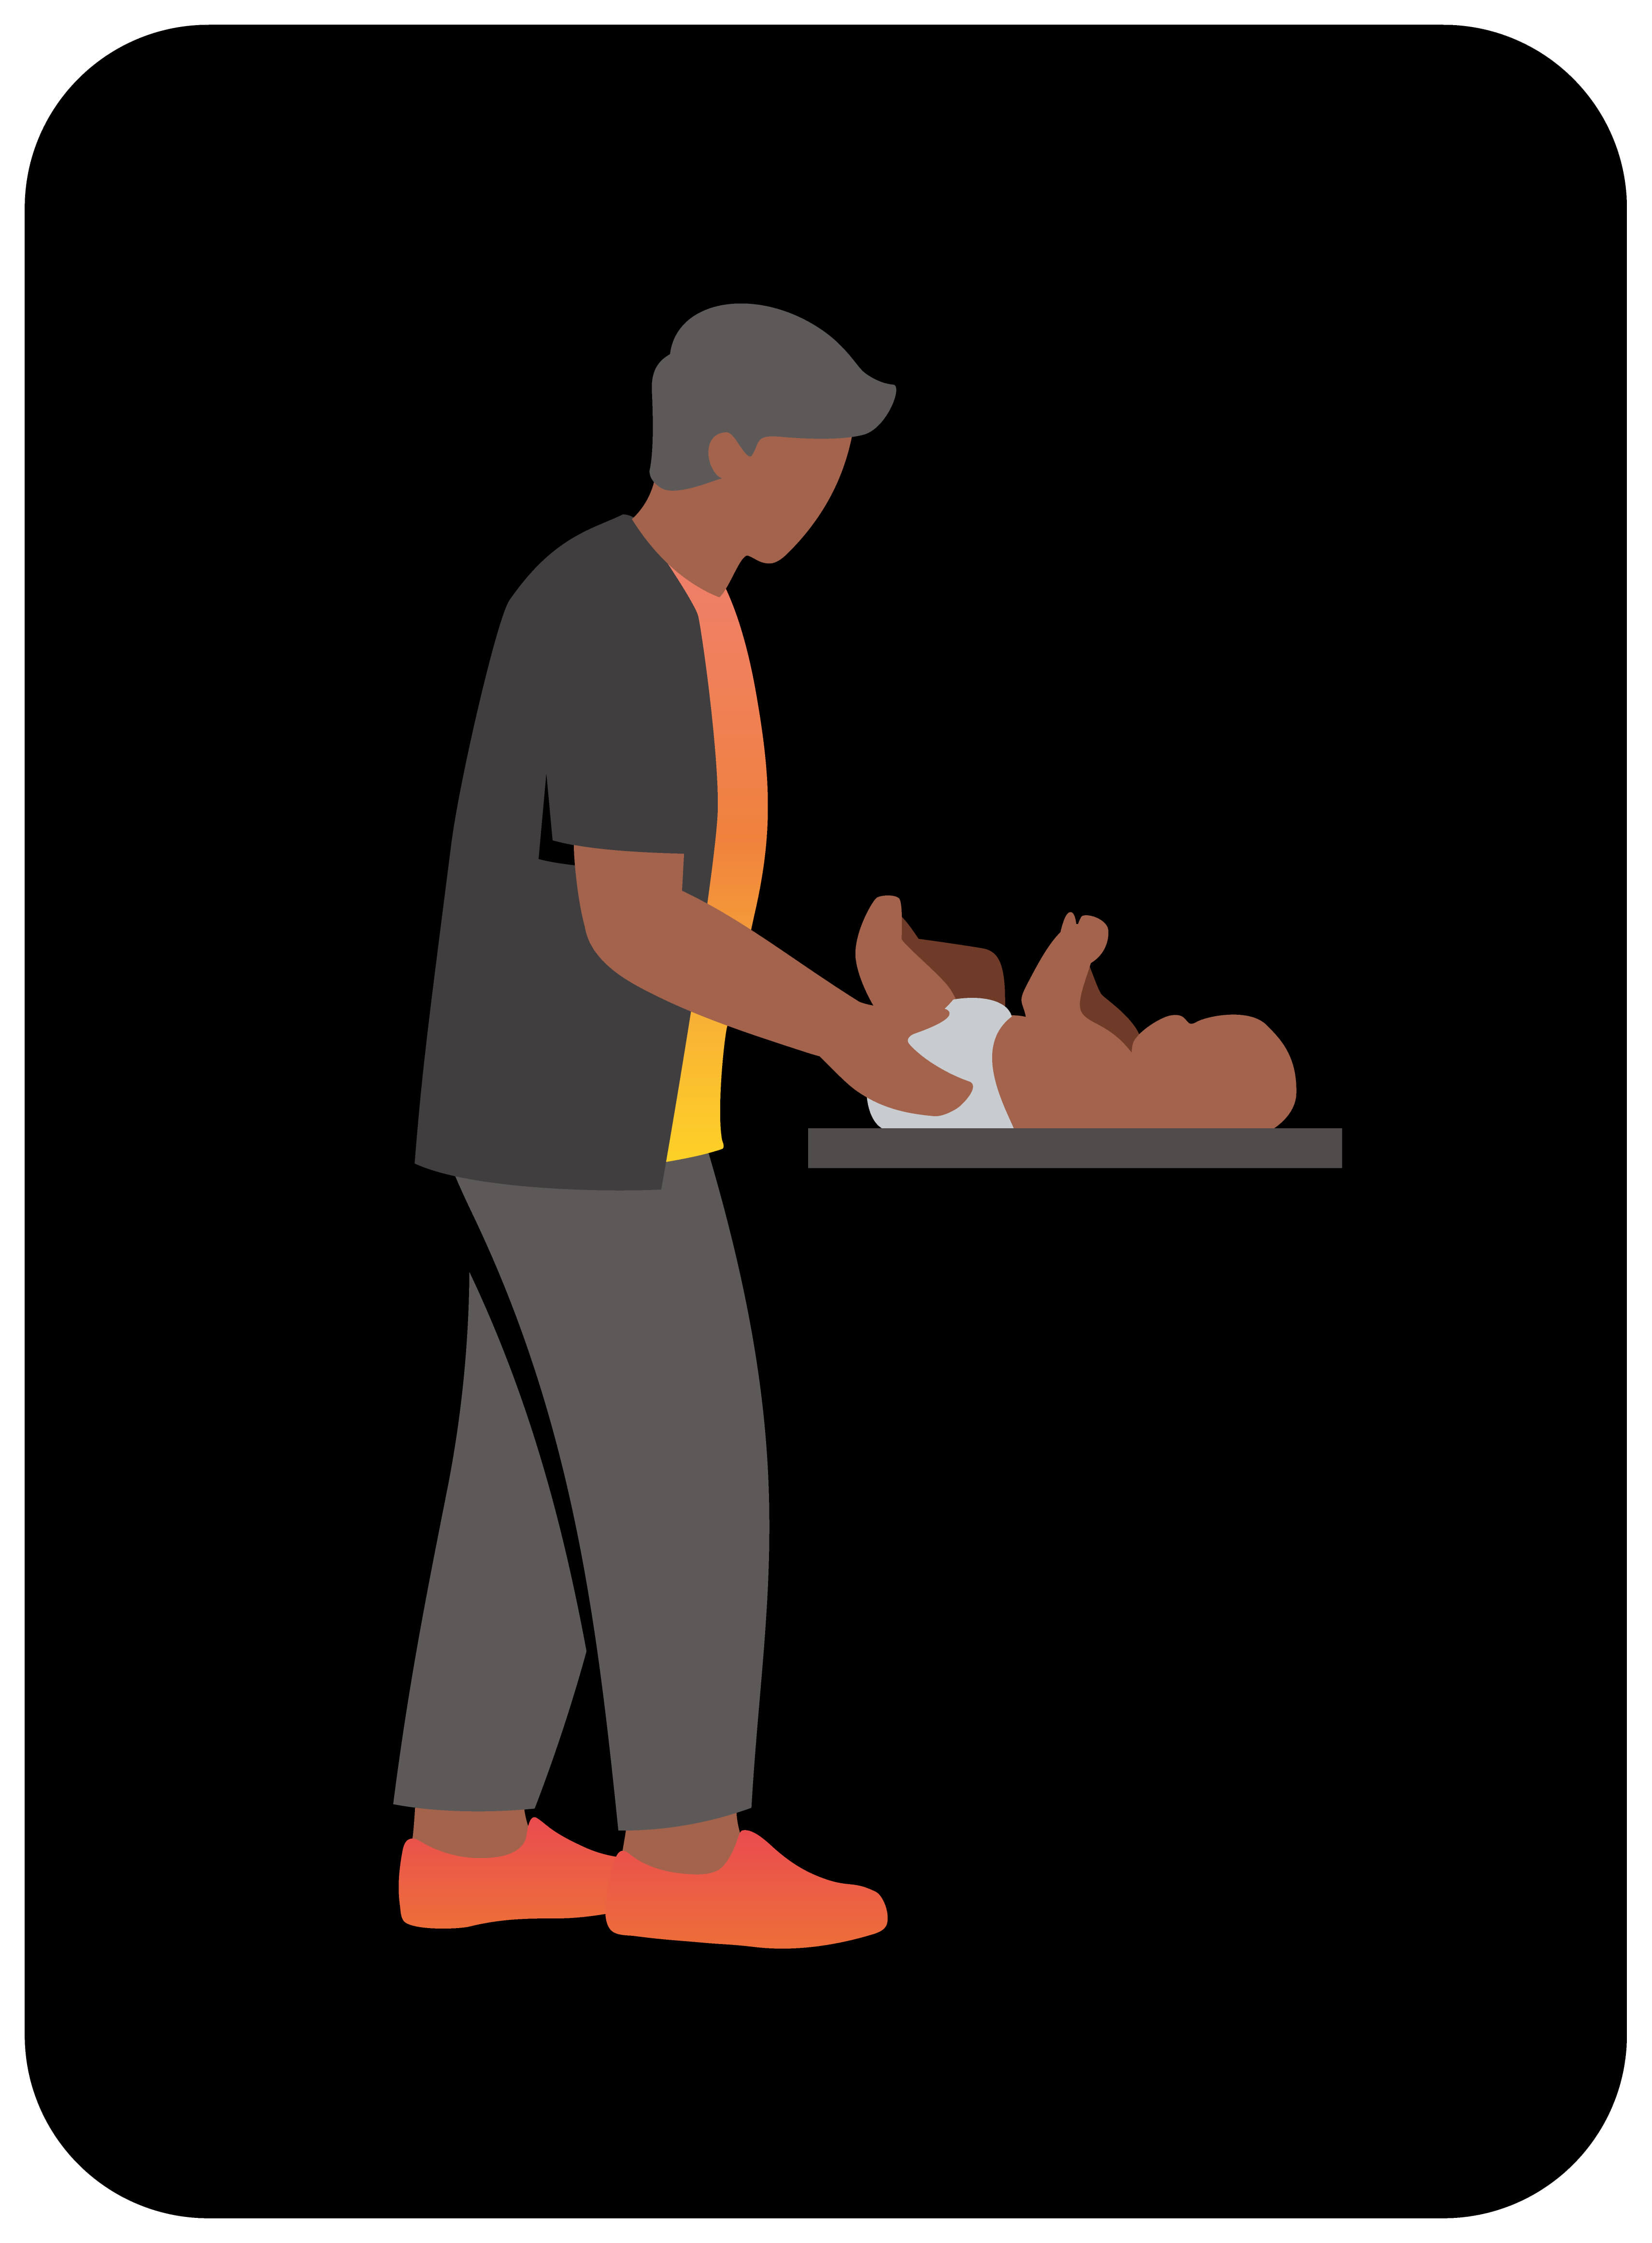
We adapt the design of our locations to the specifics of the countries where the Dodo Pizza brand is present and offer layouts with images of people from different ethnic groups.
Choose a ready-made layout with a suitable illustration and proceed to step 6. Which layout to choose exactly is specified in the pizzeria project.
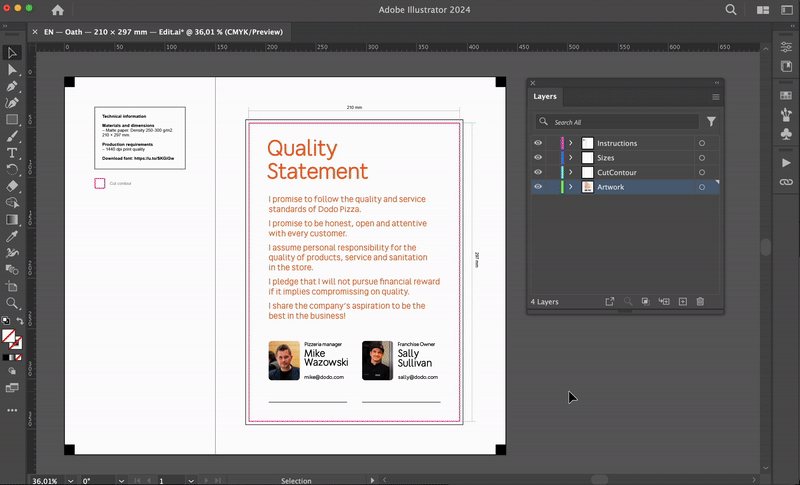
5. Replace the photo and caption
There is space for photos on the Quality Statement bulletin board layout. Request portrait photos at a resolution of at least 2000 x 2000 px from the owner or pizzeria manager. Choose a photo with a contrasting background to highlight the person’s image.
Open the Photo Layer and insert a new photo into the Clipping Mask. Put the real names and email address of employees next to the photos.
The finished Quality Statement layout is placed in an A4-sized Plexiglas wall-mounted magnetic frame. When editing the layout, do not exceed the set boundaries to avoid cropping important elements of the layout when printing and placing in the frame.
6. Save the layout for printing
Convert the text to curves. Save the layout as a PDF copy using preset; when saving, change the ending of the file name from Edit to Print.
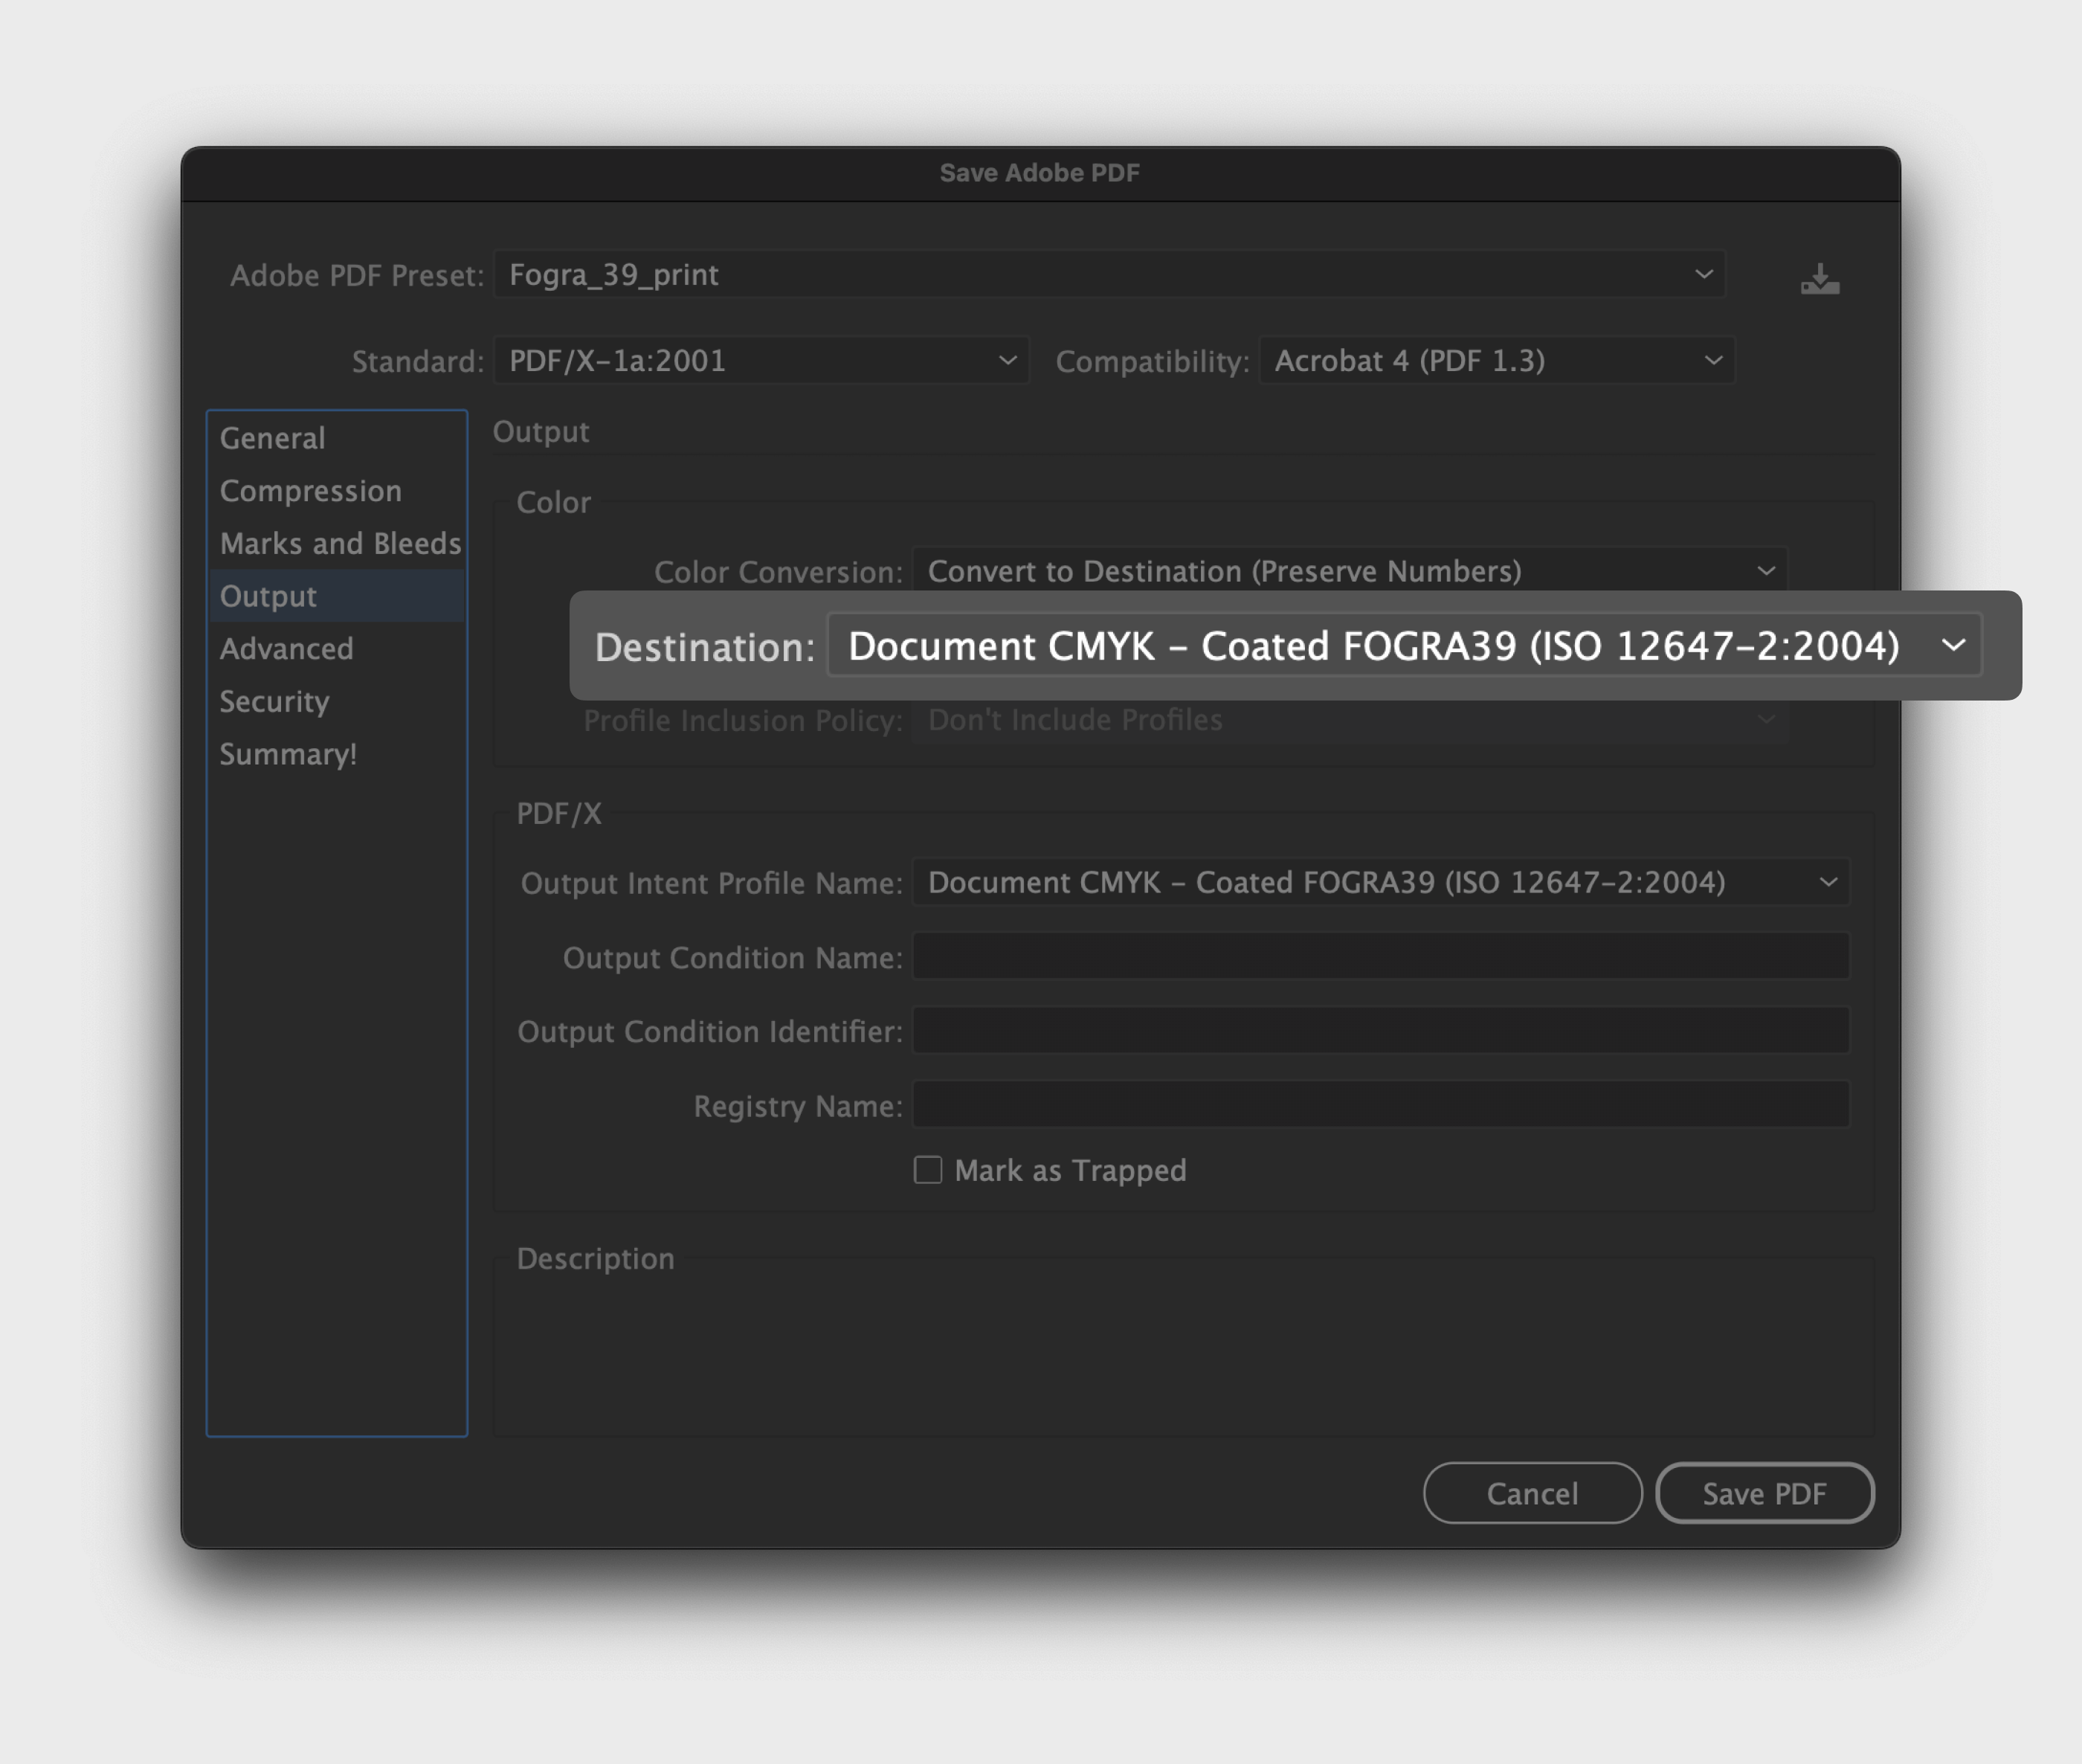
A dialog box will appear on the screen. Check the settings of the pdf file:
- Adobe PDF style: the Fogra_39_print preset is selected.
- Output: the “Target Space” field is set to “CMYK Document - Coated FOGRA39”.
7. Done!
Now the layout is ready to be sent to the printing house. Send the Print file to the production specialists.
Read next: