

Shooting a pizza for a catalog
Step-by-step video instructions and tips: how to set up the frame and the light, shoot, select the frames and save them.
In this example, we are shooting with a 24-70 mm zoom lens, full frame, with Nikon d850 using Capture One software. Initially, we adjust the lens to about 50-55mm, then, by zooming the lens, we will frame the pizza. A video tutorial with subtitles and a description of the basic steps is following below.
Set up the frame. Position the camera right above the pizza, perpendicular to the table. Take a 30 cm pizza baking screen for setting up. Using Capture One, add centre and edge guides to centre the pizza. You can also duplicate the guides on the table with a pencil.
Centre the pizza in the frame along the vertical and horizontal guides. The cuts should coincide with the center lines. Zooming the lens, fit the pizza into the frame of the guides. This will help the retoucher when processing the photo.
Set up the light. The main source of light is a 120x35 cm stripbox: it creates the main light and shadow pattern, and a secondary source with a standard reflector completes the shadows and volume. The secondary source is about 50% weaker than the main one.
Check if there is overexposure. If there is some, decrease the ISO value or increase the aperture value.
Set up reflectors. Illuminate the shadow side of the pizza edge, and shade the side of the pizza with flags on the light side. If necessary, take a small reflector and align the light inside the pizza manually.
Start shooting. While shooting, make sure the ingredients and cheese don't dry out and brush them with vegetable oil.
Between taking pictures of the pizzas we wipe grease and crumbs off the table. There should be no unnecessary objects in the frame.
Use the zoom lens to adjust the pizzas of different sizes (25, 30, 35 cm) to the guides set up at the beginning of the picture. The pizzas need to appear identical in the frame.
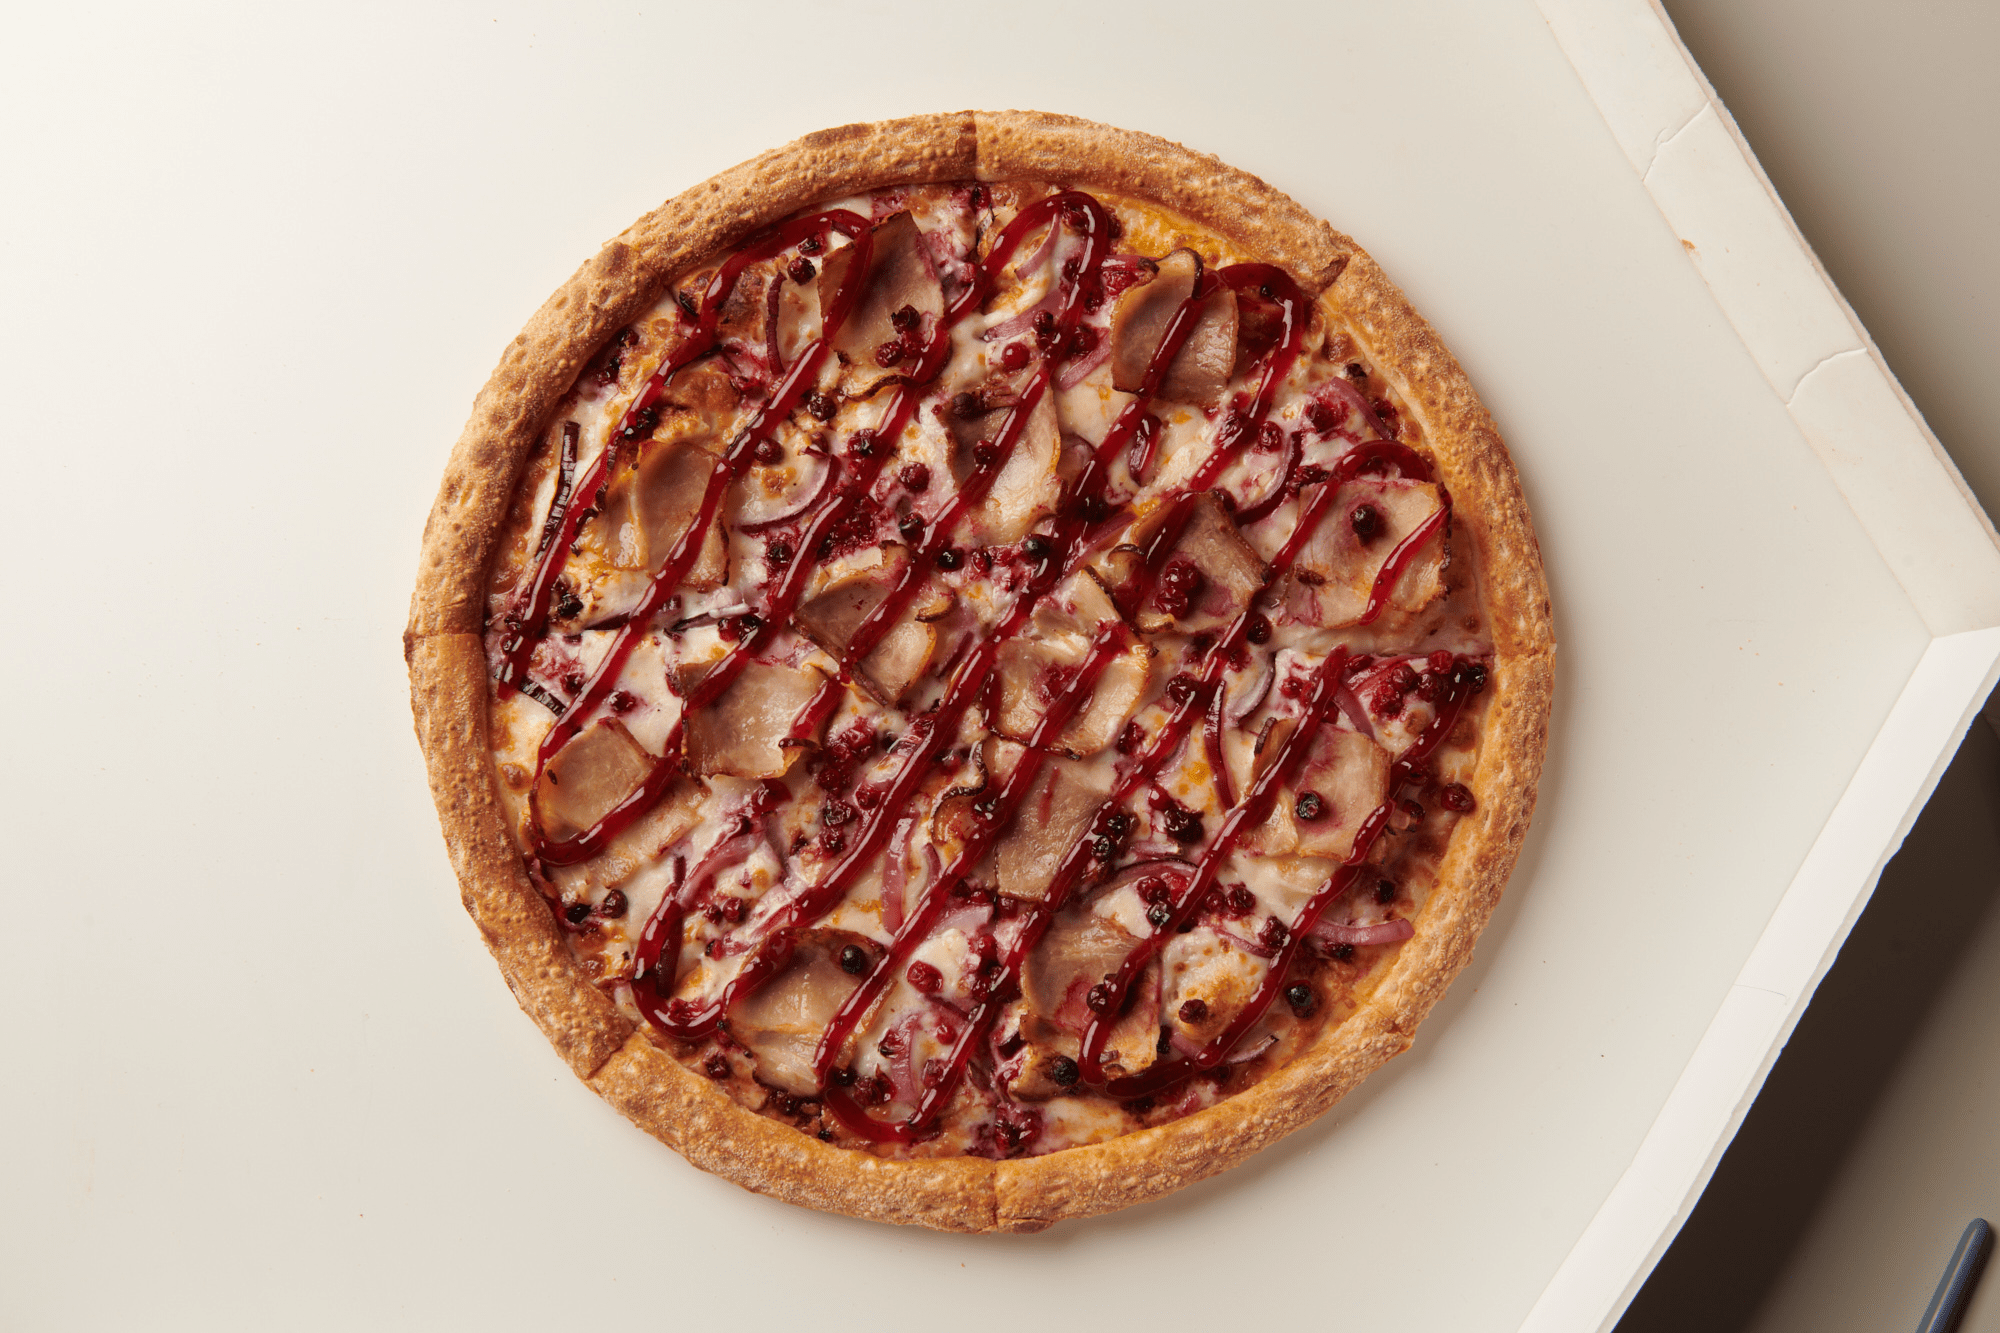
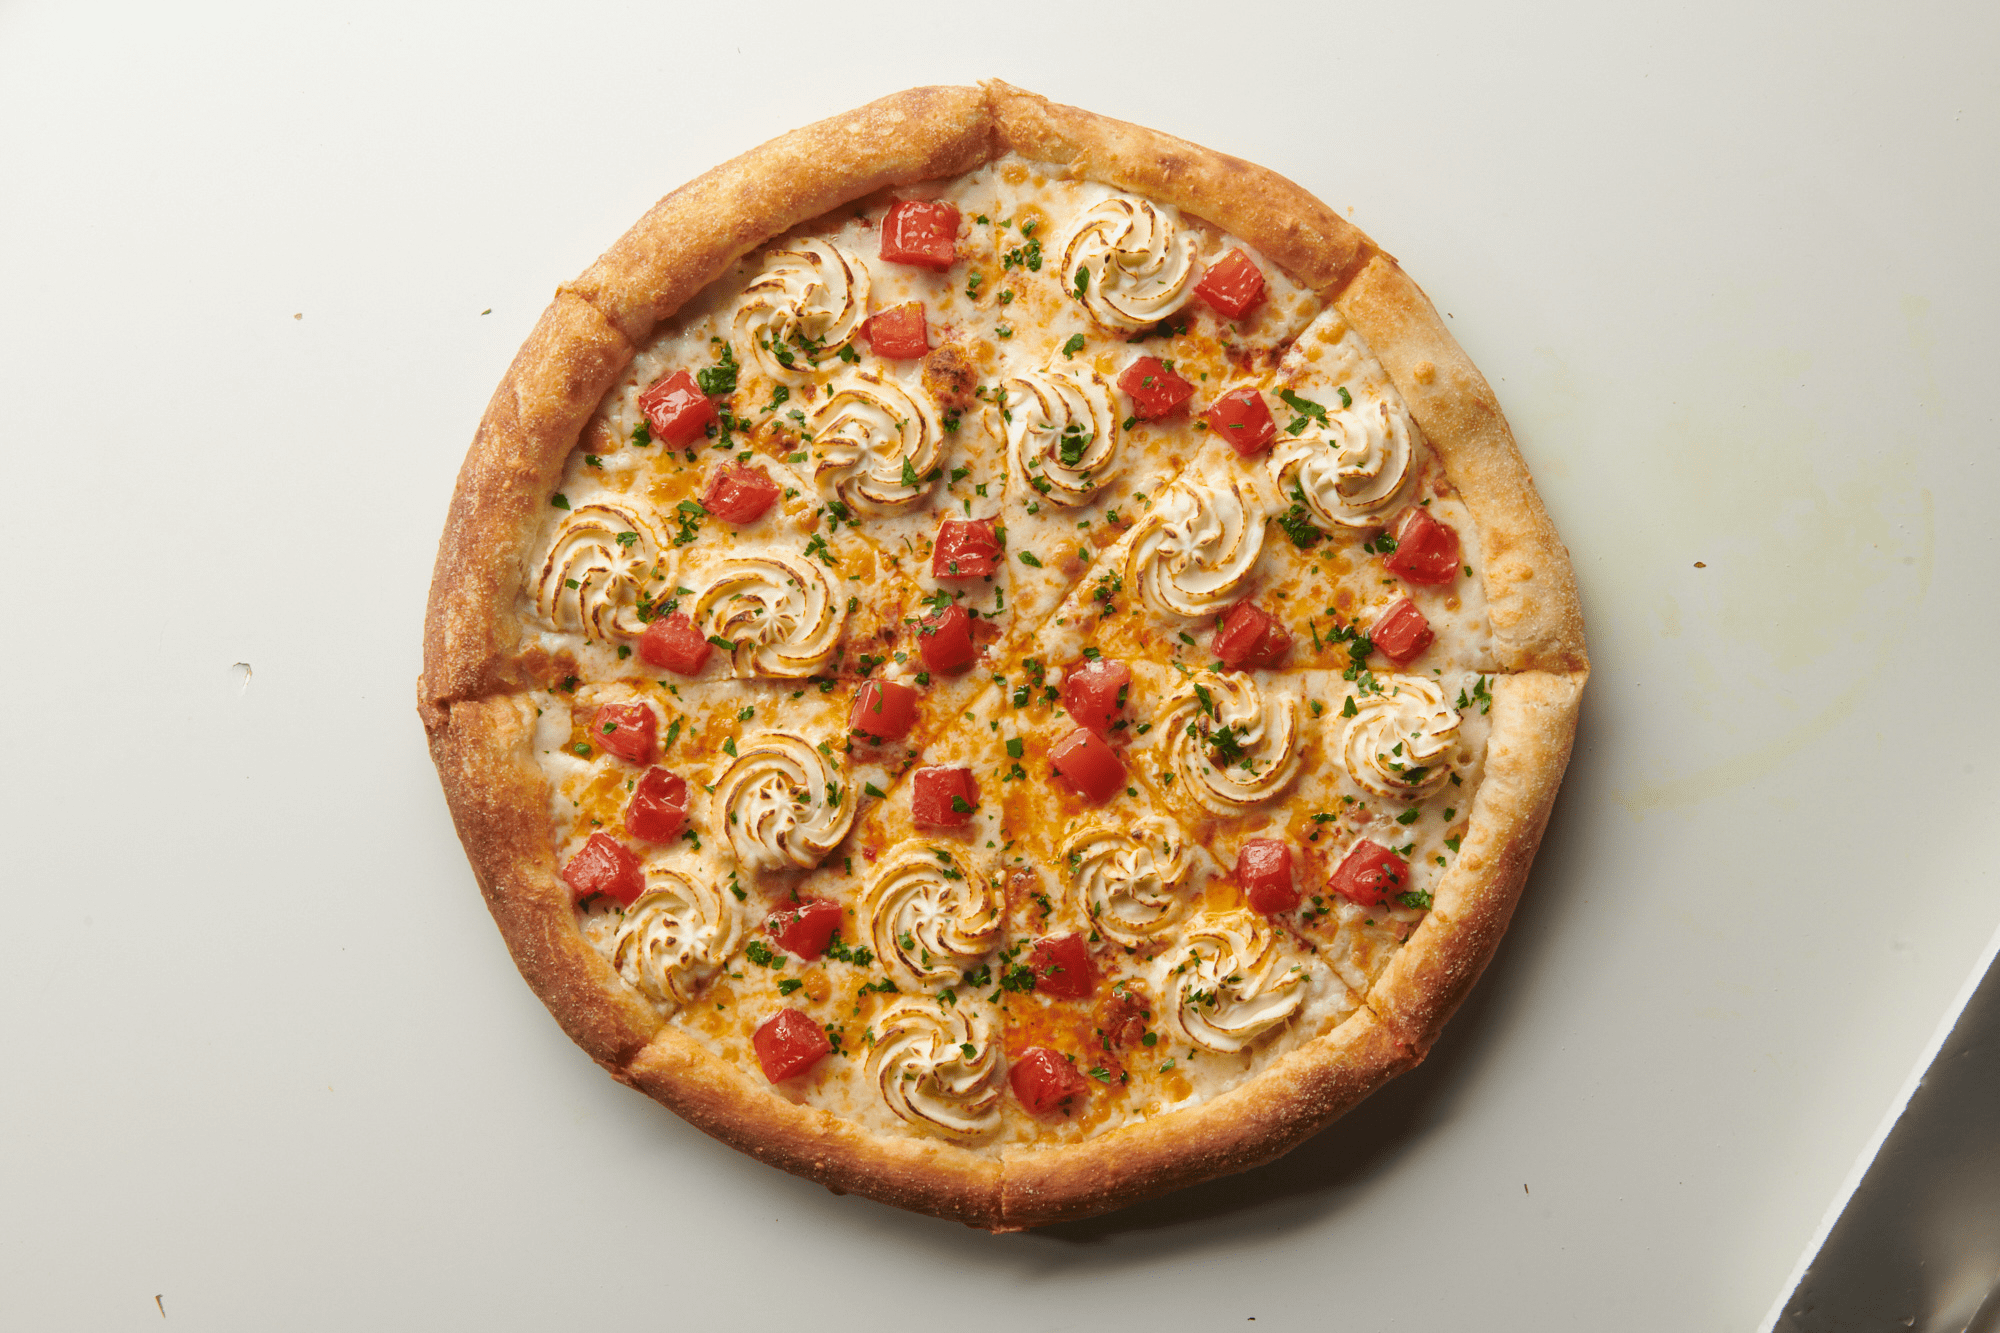
Select the frames. After shooting, we select the best shots, which we send to retouching.
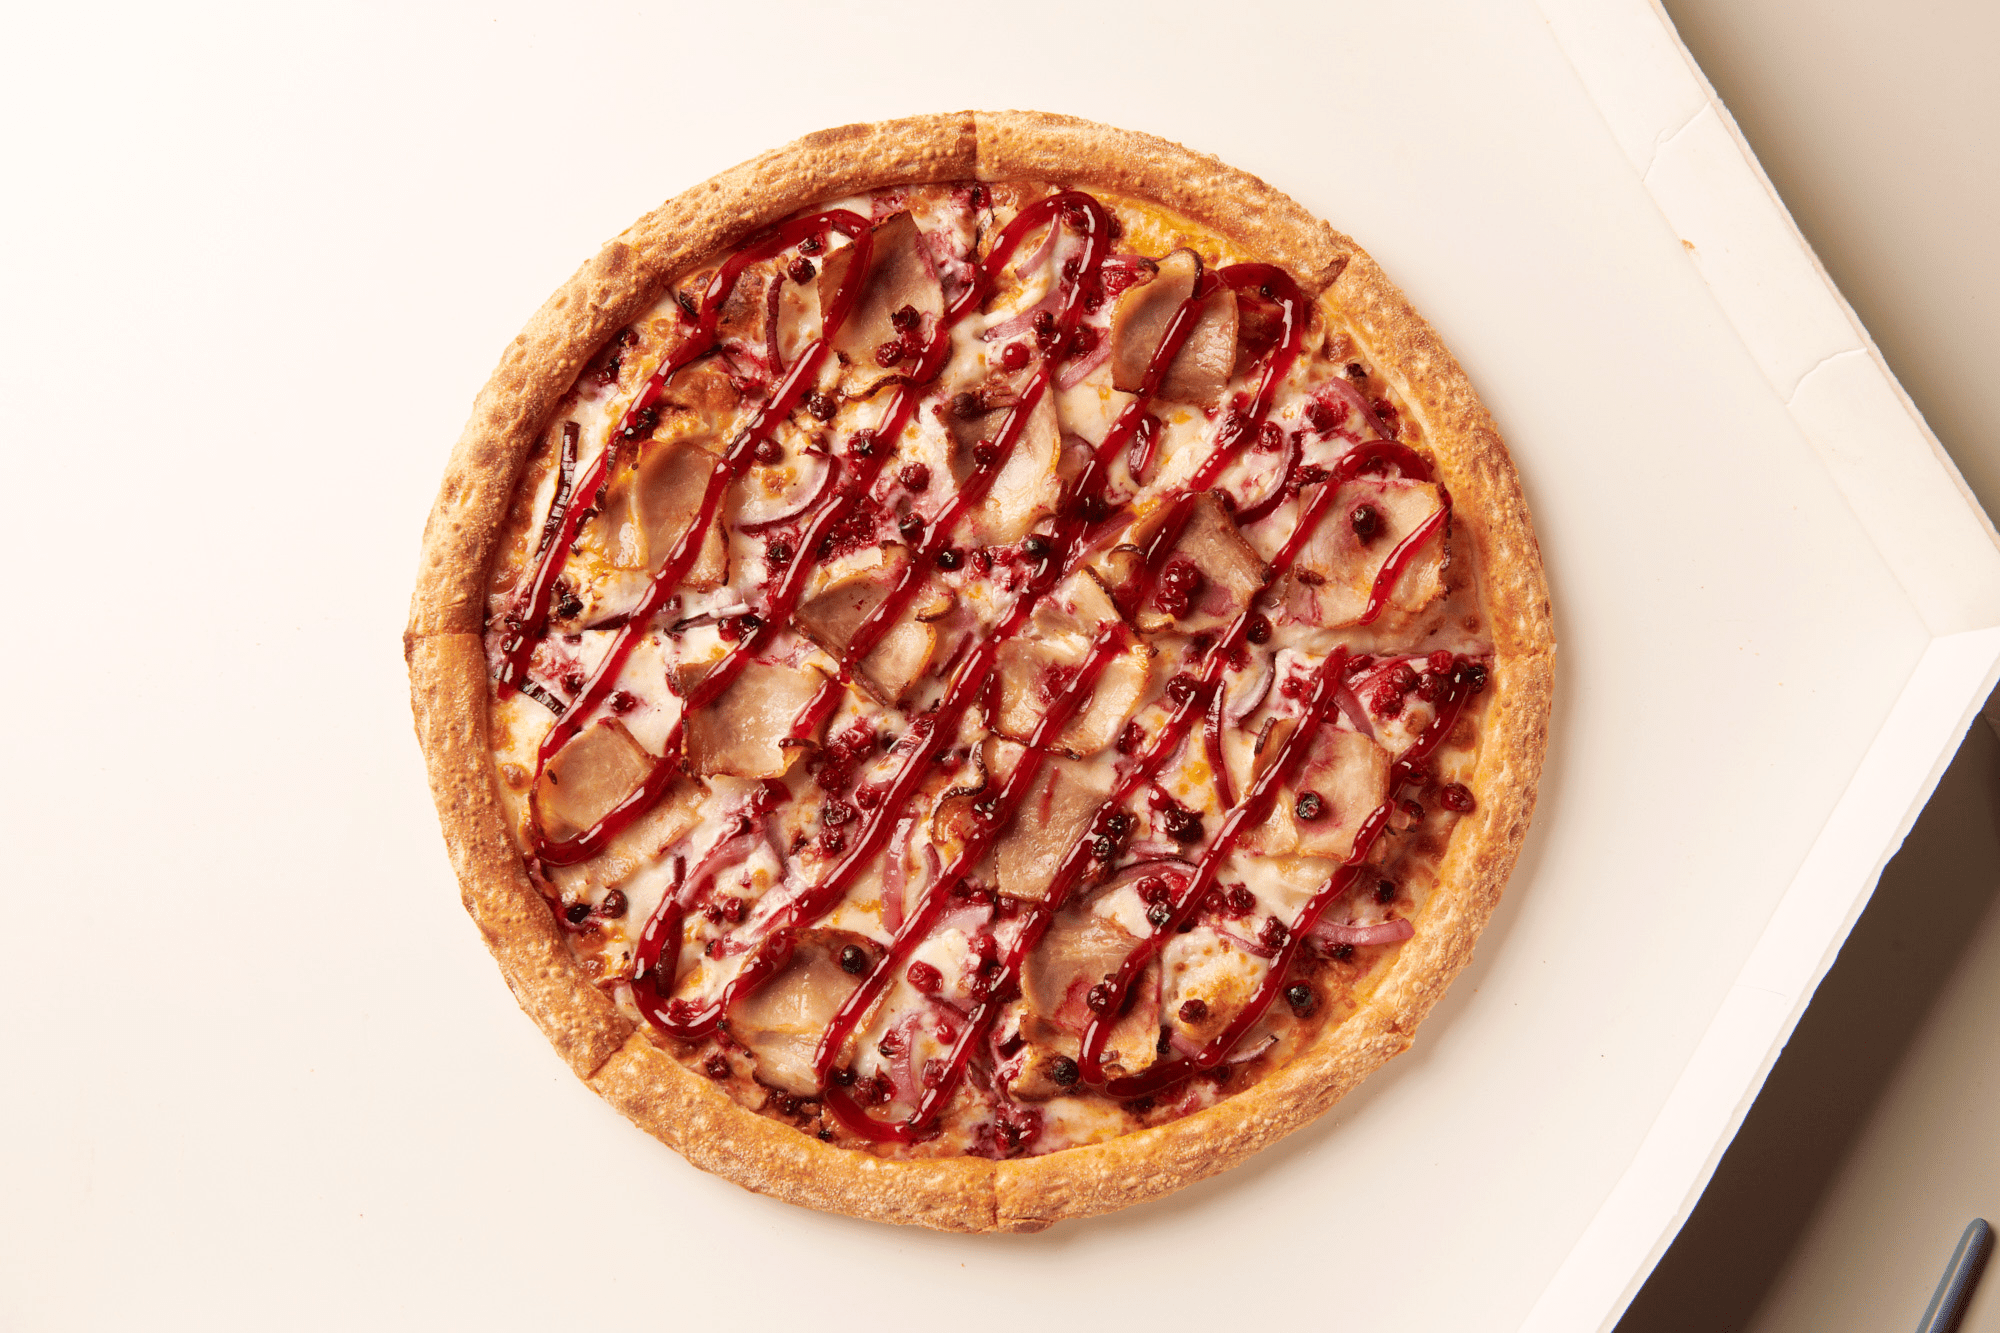
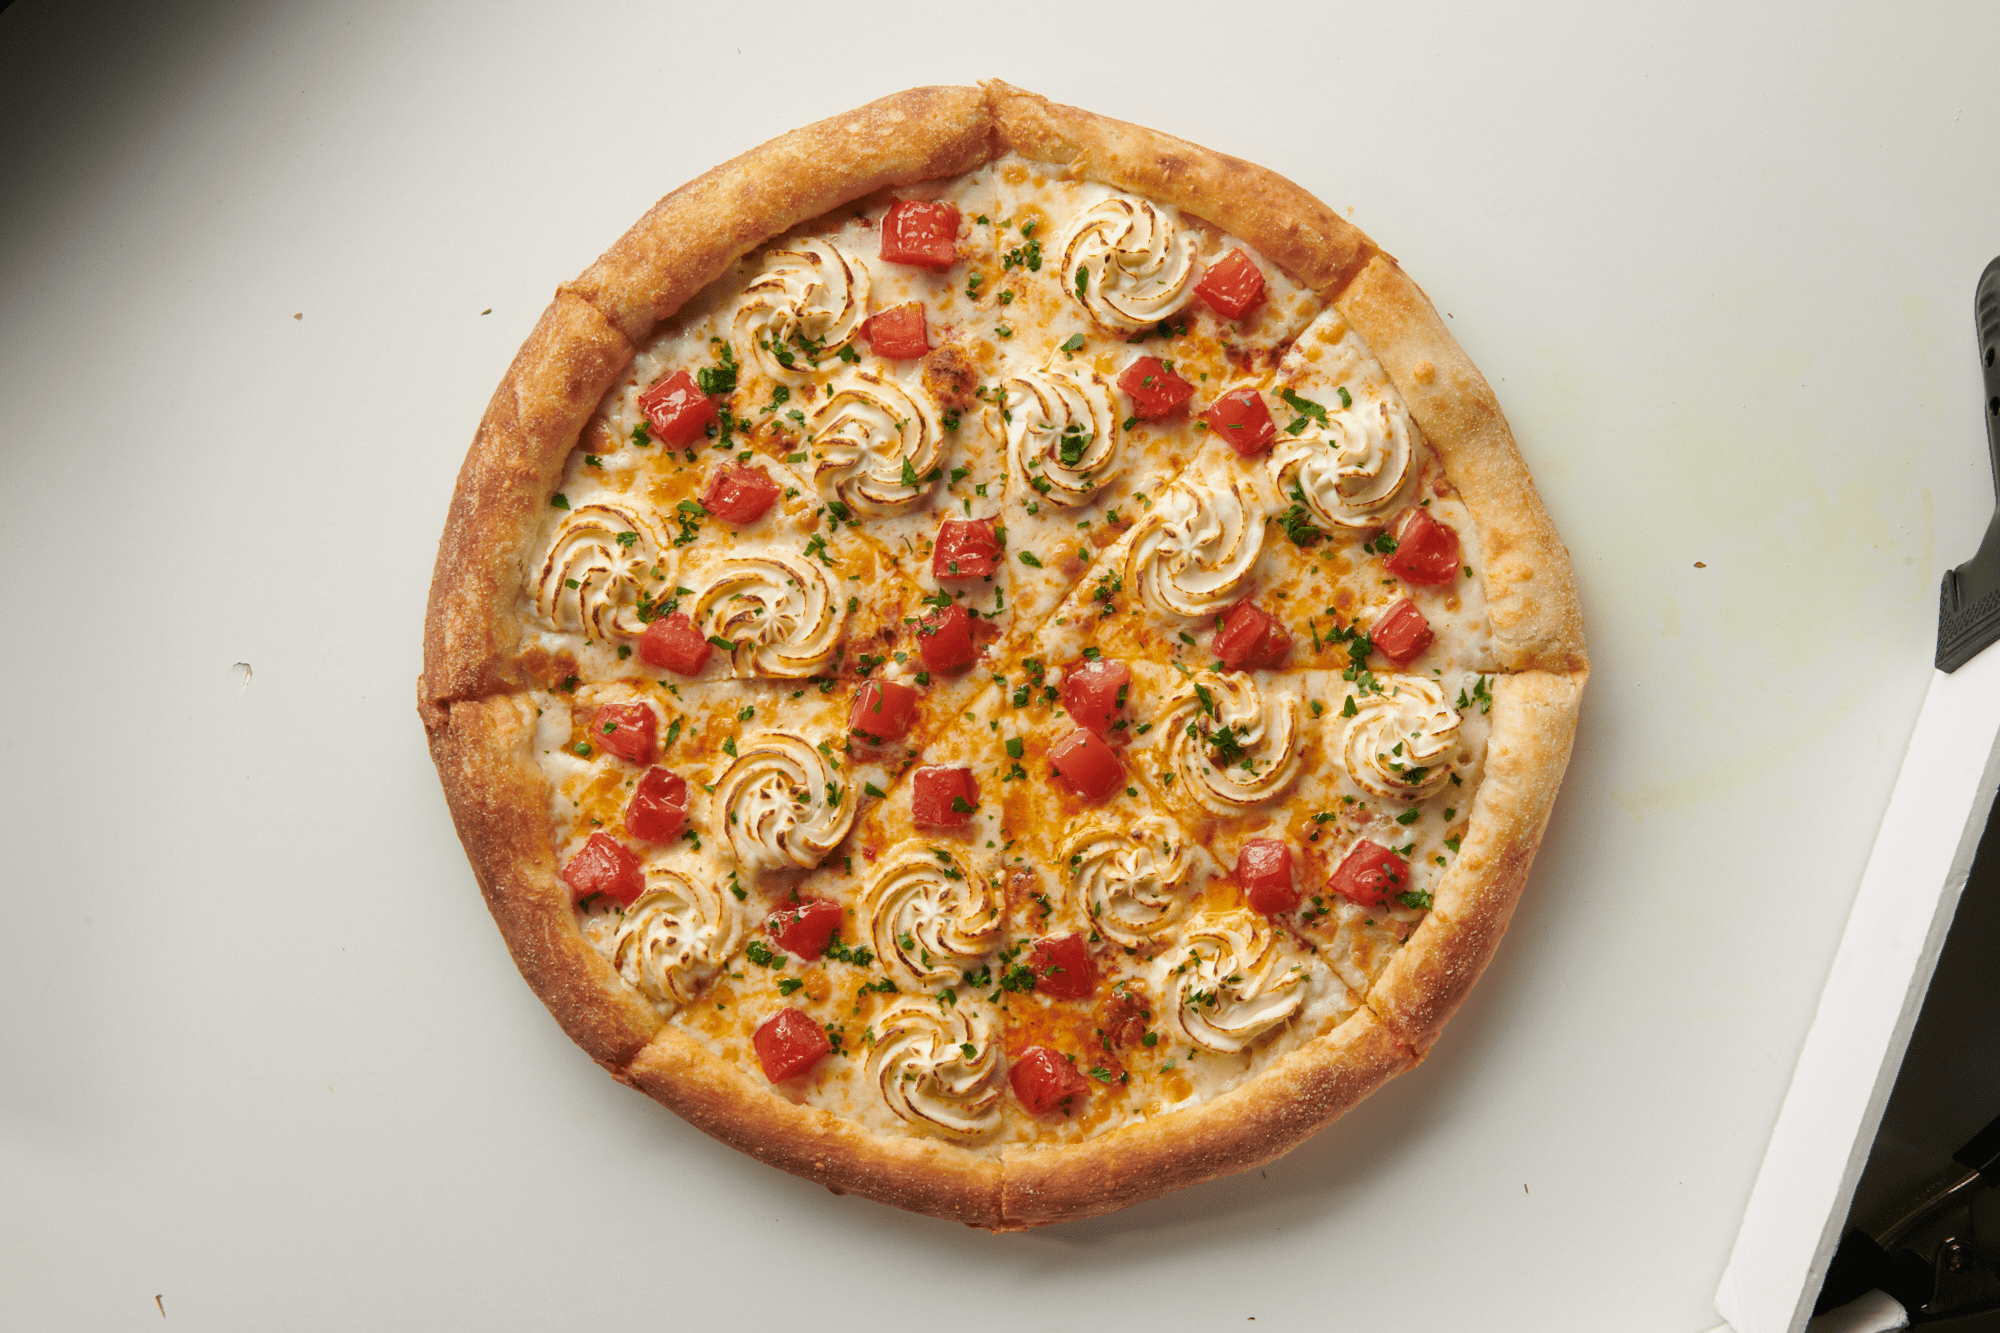
The light falls evenly on the product on a good photo, there are shadows near the edges and ingredients, the pizza looks three-dimensional.
Do not save the bad shots to avoid confusion.
Save Photos. We save the photos as NEF or RAW files without any adjustments. For each recipe, we create a separate folder. We write the name of the pizza and the date of shooting in the name of the folder.
Read next: