
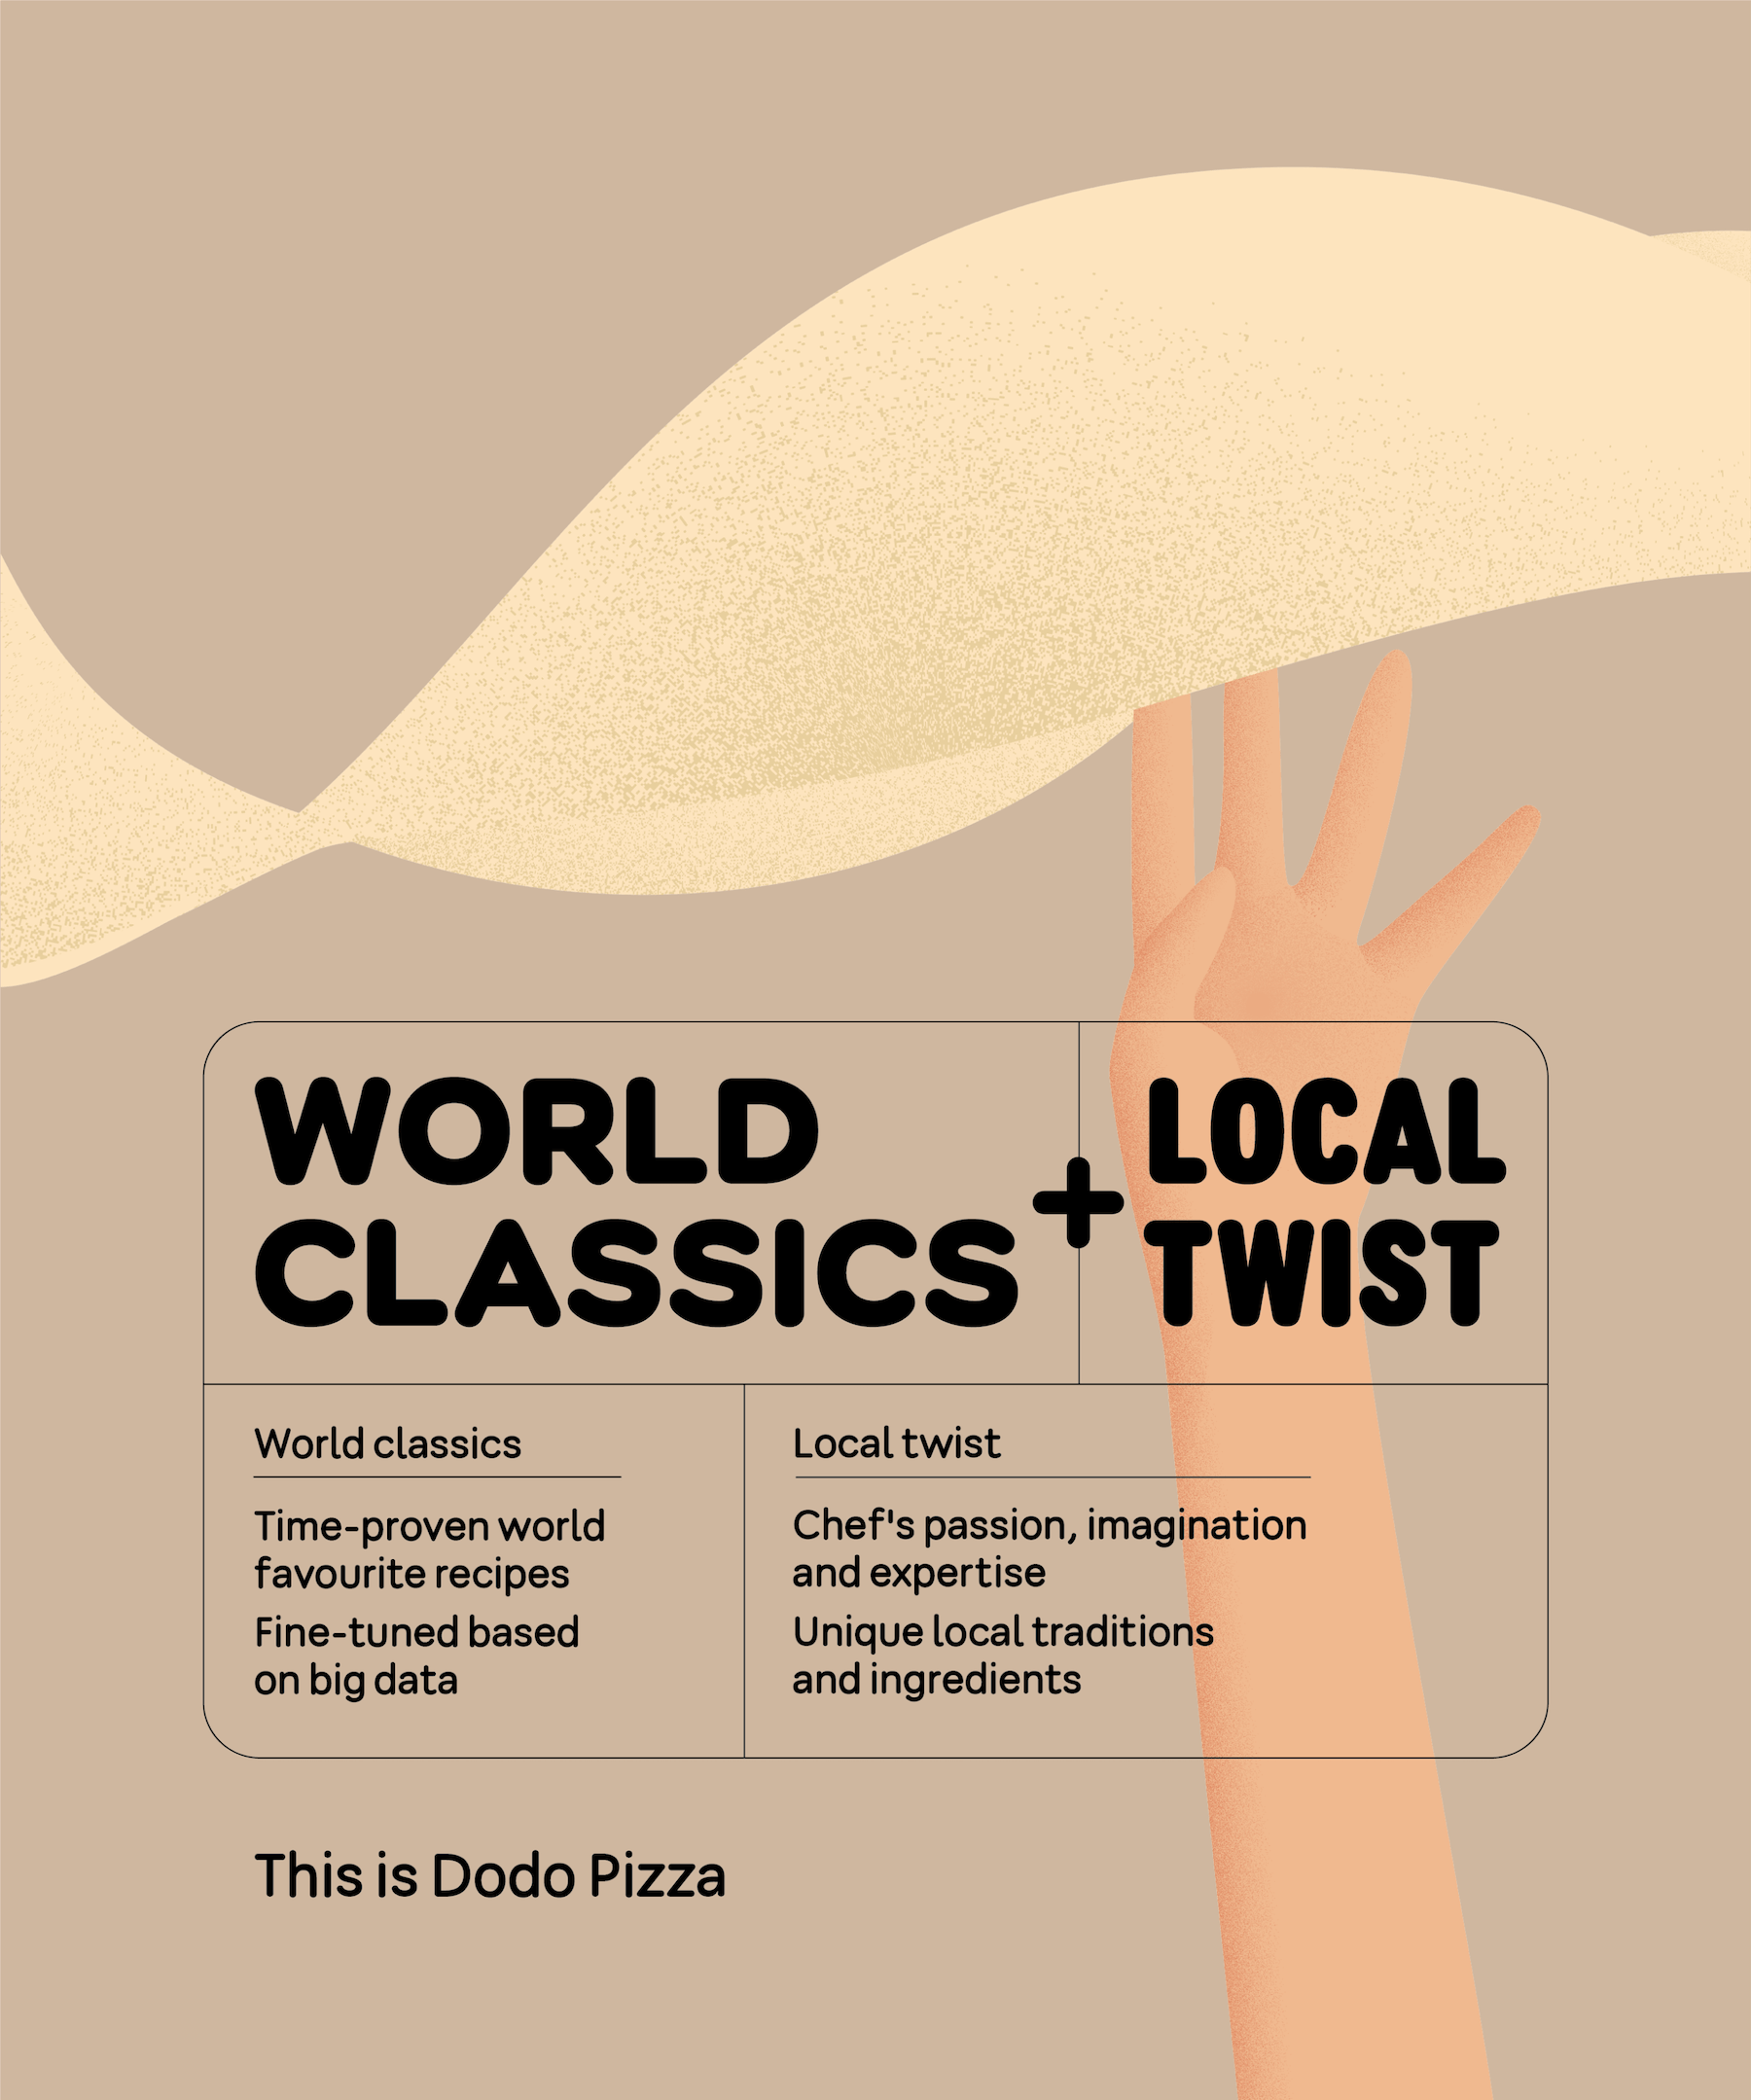
Pizza Twist poster
We adapt to the local market and prepare for printing “Pizza Twist” interior poster. The guide includes a video tutorial and its transcript with illustrations.
Let's figure out how to insert text in the local language, choose a background colour and correctly save the poster for printing.
Before you start editing your layout, follow a few preliminary steps:
- Install a preset to save PDF files.
- Specify what background and text colour to use in the layout. This information is available in the pizzeria project.
- If English is not the primary language in your country, prepare a translation of the text into the local language.
1. Download the layout from the Edit folder
All interior posters are stored in the “Posters - v1.1” folder. Download the “Pizza Twist” poster layout and open it in Adobe Illustrator. You will need the “Edit” file to edit the layout.
2. Determine the language
We provide posters with text in English. If English is not the primary language in your country, translate the text into your local language.
3. Select the colour of the text and insert translation
There are two sub-layers in the text layer, “Black” and “White”. Select the option of the desired colour, and remove the extra layer. Pizzeria project specifies which text colour to use.
Insert the translation into the corresponding blocks just the way they are in the English version. If the English version of the poster works well for you, leave the text unchanged and go straight to step 6.
4. Edit the headings
The text on the layout is inscribed in rectangles. When editing the text, the lines (rectangle edges) can be moved, but the features of the mutual arrangement of objects must be preserved.
If the text happens to be longer after the headings have been translated, edit the font variation, keeping the accents where they were put.
If headings overlap the main text, lower the horizontal separator line and the text below it.
5. Edit the main text
If the main text extends beyond the bottom border of the rectangle in which it is inscribed, extend the border to the bottom guide. To do this, select the points where the corners are rounded and move the line down.
Align the text so it doesn't look jagged along the right edge. Make sure that the "shift contrast" is maintained.
Edit the lines located under the phrases "World classics" and "Local twist". The width of the line should be the same as the one of the text block below.
If the main text has become longer and overlaps the phrase "This is Dodo Pizza", delete it. The posters are placed inside the pizzeria which is already the brand area, and that means that guests already understand the context.
6. Select the background colour
In the “Background” layer, select the colour that is specified in the pizza shop project.
7. Merge layers
Check that only the elements that will be printed are left in the “Text” and “Backgroung” layer. Remove any hidden layers.
Select the “Background” layer and rasterize it. To do this, choose “Object – Rasterize” from the menu at the top of the screen. In the dialog box, check the “Resolution” item: rasterize the layout at a high resolution of 300 ppi.
8. Save the layout
Save the layout in Adobe PDF (pdf) format using the preset, change the ending in the file name from “Edit” to “Print”.
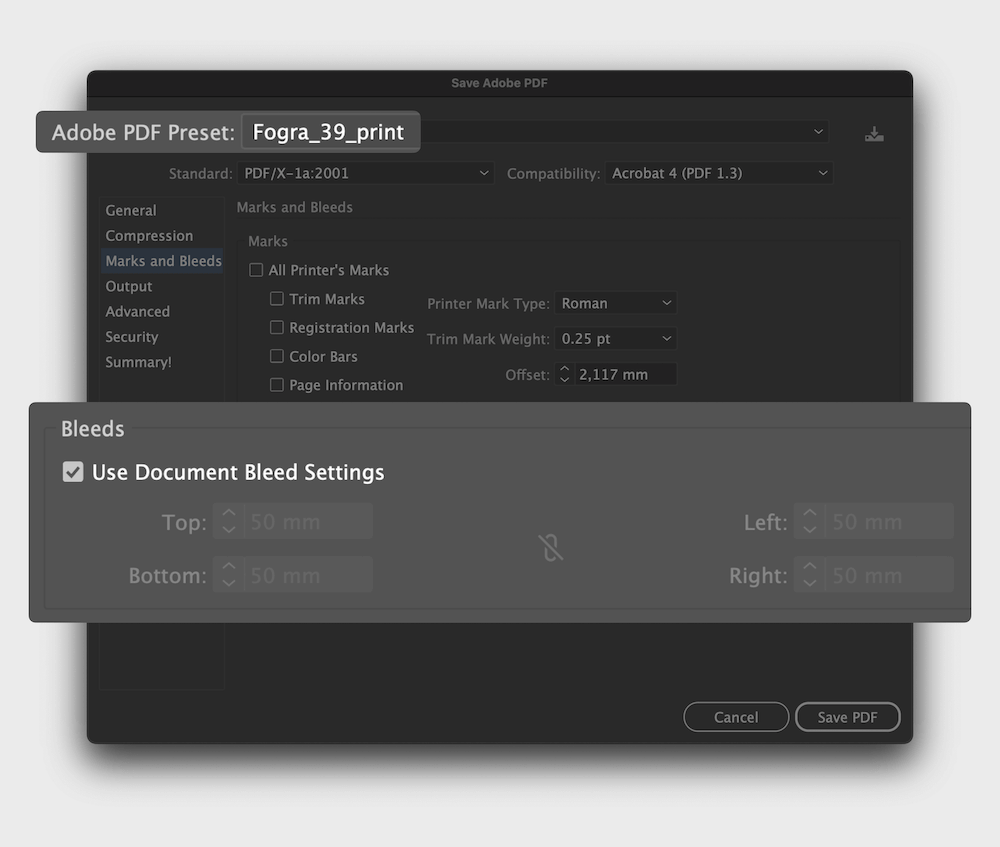
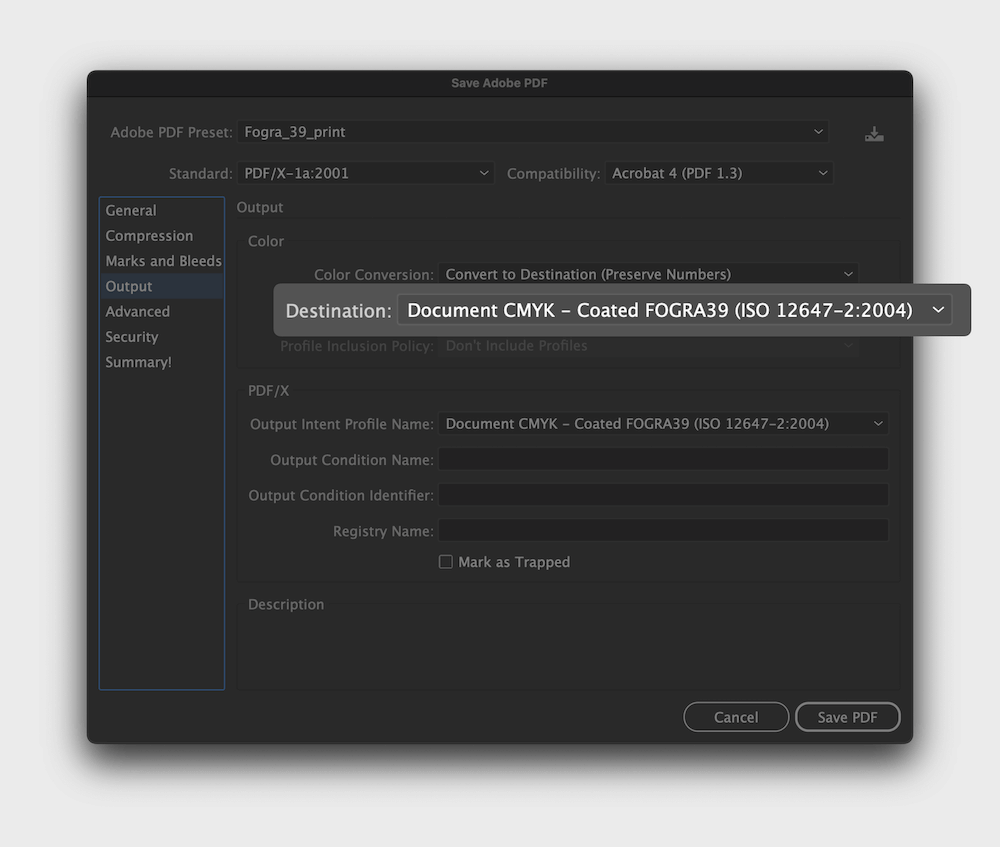
A dialog box will appear on the screen. Check the settings of the pdf file:
- Adobe PDF style: Fogra_39_print preset is selected.
- Marks and Crop Issue: the “Use Document Crop Options” option is enabled and 50 mm is set for all sides. This is important because posters are pulled on a stretcher: the edges are creased to cover the ends.
- Output: the “Target Space” field specifies “CMYK Document - Coated FOGRA39”.
9. Done!
Now the layout is ready to be sent to the printing house. Send the “Print” file to the production specialists.